
how to hang pictures straight every time comes down to two things: picking the right reference point (centerline or top edge) and locking your measurements before you put any holes in the wall.
If you’ve ever “eyeballed it,” stepped back, adjusted, and still ended up with a frame that looks a little off, you’re not alone. Walls aren’t always plumb, frames aren’t always perfectly square, and hanging hardware rarely sits exactly where you think it does.
This guide walks through a few reliable methods people use in real homes, plus quick checks to avoid common mistakes like measuring from the floor, trusting a single nail, or forgetting the difference between the frame top and the hook point.
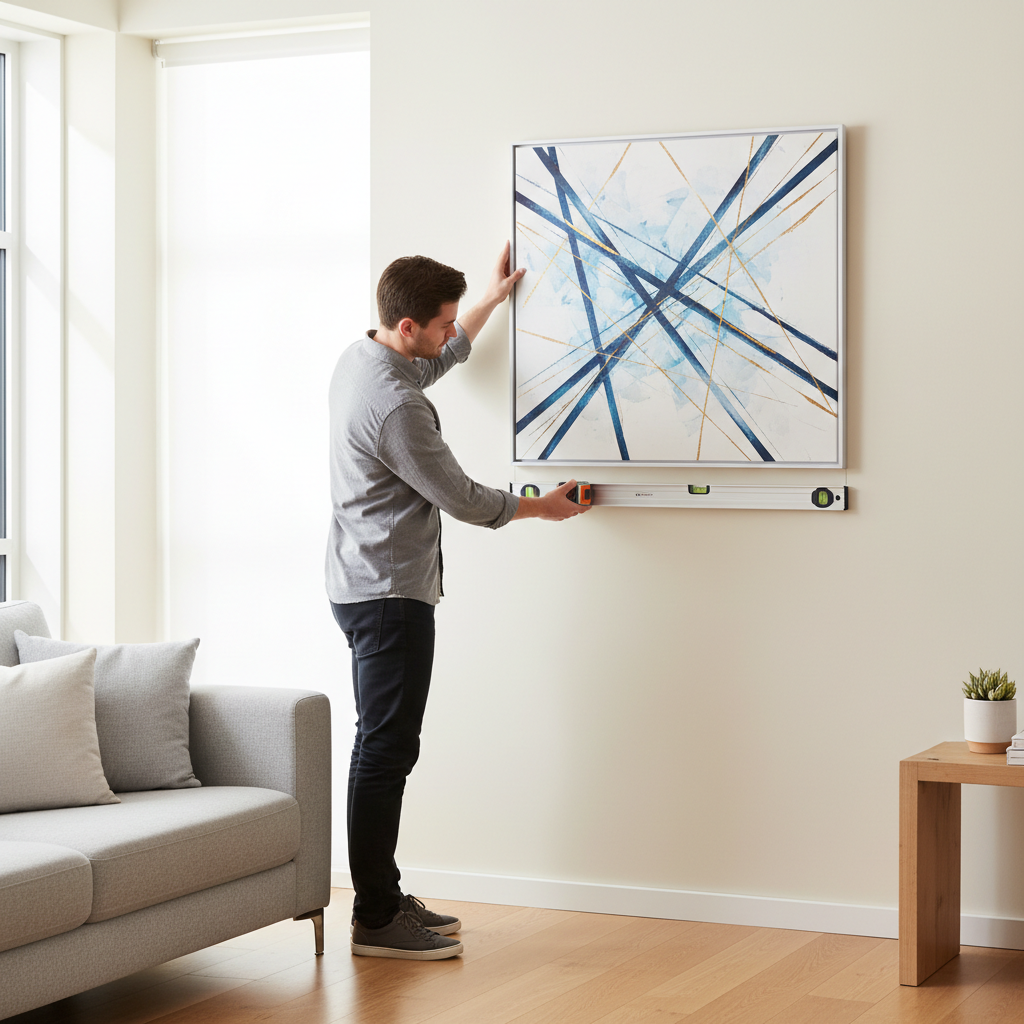
Why pictures end up crooked (even when you “measured”)
Most crooked hangs happen from small, predictable gaps between what you measured and what the hardware actually does once weight hits the wall.
- You measured the frame, not the hanger point. D-rings, sawtooth hangers, and wire all change the “drop,” meaning the hook sits lower than the top of the frame.
- The wall surface pushes the frame. Texture, baseboard slope, and slight drywall waves can tilt a frame just enough to notice.
- One fastener lets the frame rotate. A single nail and a wire often drift off level when you bump the frame, or when the wire slides.
- Your reference line is inconsistent. Measuring from the floor in one spot and then another can be misleading if floors aren’t level.
According to NIST (National Institute of Standards and Technology), measurement accuracy depends on proper tools and technique, which is a polite way of saying: tiny errors stack up fast when you’re doing multiple frames.
A quick self-check: which hanging situation are you in?
Before you pick a method, identify your setup. This saves time and reduces “mystery crookedness.”
- Small frame (under ~10 lb) with sawtooth: quick to hang, easiest to shift slightly.
- Medium frame with D-rings + wire: common, but most likely to drift if only one hook is used.
- Large/heavy frame: needs anchors or studs, and usually two hooks for stability.
- Gallery wall / multiple frames: your real job is consistent spacing and alignment, not one perfect frame.
If you’re unsure about weight limits for your wall type, it’s safer to check the hardware packaging or ask a hardware pro, since anchors vary a lot by brand and wall condition.
Tools that make “straight every time” realistic
You can hang art with a nail and luck, but if you want repeatable results, a few tools do most of the heavy lifting.
| Tool | What it helps with | When it matters most |
|---|---|---|
| Tape measure | Consistent height, spacing, centering | Gallery walls, symmetrical layouts |
| Bubble level (or level app) | True horizontal alignment | Any single statement piece |
| Painters tape | Marking outlines, protecting paint | Fresh paint, textured walls |
| Stud finder | Finding solid support | Heavier frames, mirrors |
| Two hooks or anchor points | Stops frame rotation | Wire-hung frames that keep shifting |
Key point: if you want how to hang pictures straight every time to feel effortless, use two contact points when the frame tends to rotate, it fixes more “crooked” problems than leveling alone.
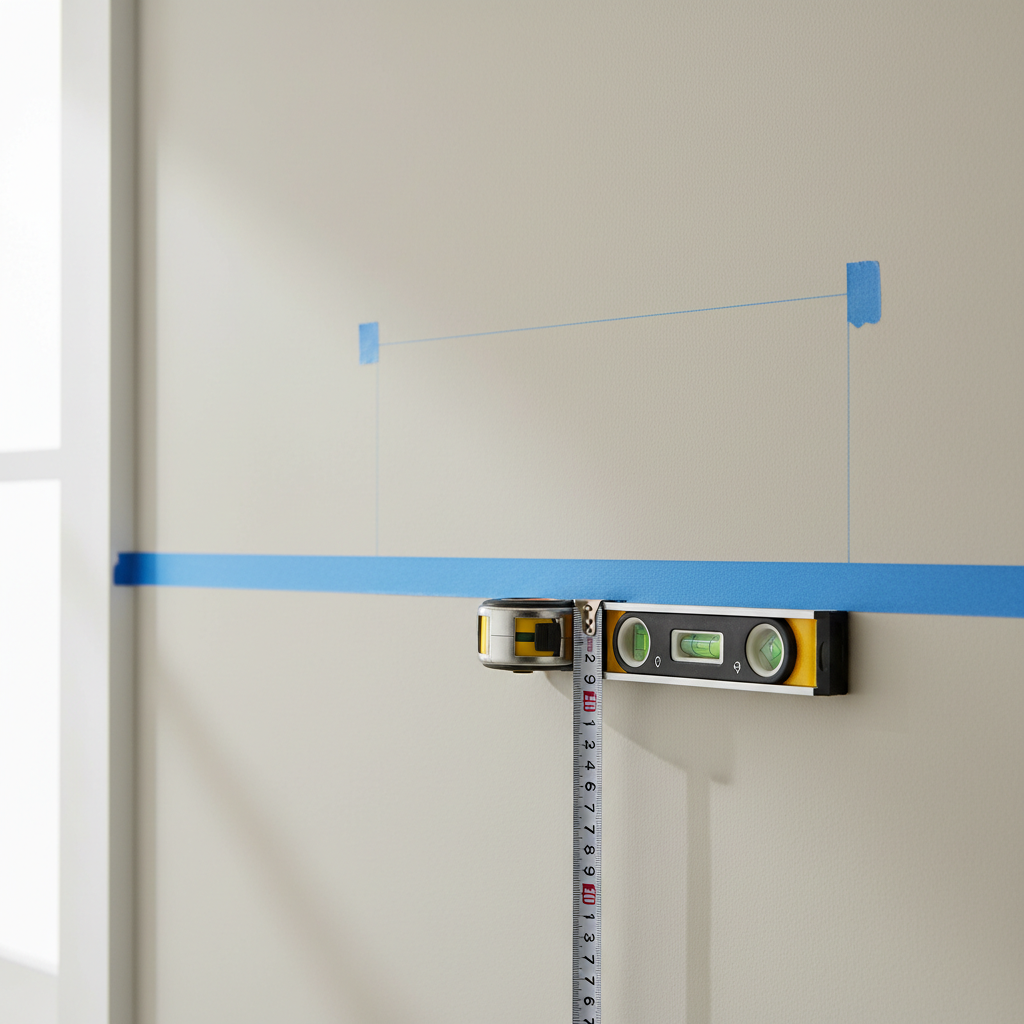
The most reliable method: centerline + hanger-drop measurement
This is the method that works across most frame types because it respects the real hanging point, not the frame’s outside edges.
Step 1: Decide the target height (use the center, not the top)
For most rooms, a practical default is to place the center of the art around eye level. In many homes that lands roughly in the 57–60 inch range from the floor, but your space and furniture can change that.
- If the frame hangs over a sofa/console, the bottom often looks better 6–10 inches above the furniture, rather than “eye level.”
- If it’s a hallway with tall ceilings, avoid pushing everything too high just because the wall feels big.
Step 2: Mark the vertical centerline on the wall
Measure the wall span or the furniture width, find the midpoint, then make a small pencil mark. This becomes your “no drama” reference point.
Step 3: Find the hanger-drop on the frame
Flip the frame over and measure from the top of the frame down to the point where the frame will actually catch the hook.
- For D-rings + wire, pull the wire taut upward (as it will be when hung) and measure to that peak.
- For sawtooth hangers, measure to the tooth you plan to use.
Step 4: Convert “center height” to “hook height”
Use this quick formula:
- Hook height = target center height + (frame height ÷ 2) − hanger-drop
Make a mark at that hook height on your centerline, that’s where your hook or nail wants to land.
Step 5: Hang, then do a final micro-adjust
Set the frame on the hook, place your level on top, and nudge. If you used the right hanger-drop, you’ll be “close enough” that adjustments are tiny, not a re-do.
Fast methods for specific scenarios (when you want fewer steps)
Some walls and frames don’t need the full workflow. Here are quicker approaches that still avoid the usual traps.
If you’re hanging a light frame with a sawtooth
- Put painters tape on the wall where the top edge will land.
- Hold the frame up, level it, trace the top edge lightly on the tape.
- Measure from the top of the frame down to the sawtooth hook point, transfer that distance to the wall.
This keeps your pencil marks off paint and makes it easier to erase and reset.
If you’re using wire and it keeps drifting
- Swap from one hook to two hooks, spaced a few inches apart.
- Keep the wire fairly tight, a wire that sags exaggerates drift.
- Add small rubber bumpers to the lower corners so the frame grips the wall.
Lots of people chase level for 20 minutes when the real issue is rotation, two hooks and bumpers usually end that.
If you’re aligning multiple frames in a row
- Pick one consistent rule: align tops or align centers.
- Use a level line (laser level is convenient, a long bubble level also works).
- Measure spacing edge-to-edge, not “by eye.”
If the frames vary in size, aligning centers often looks calmer, if sizes match, aligning top edges looks crisp.
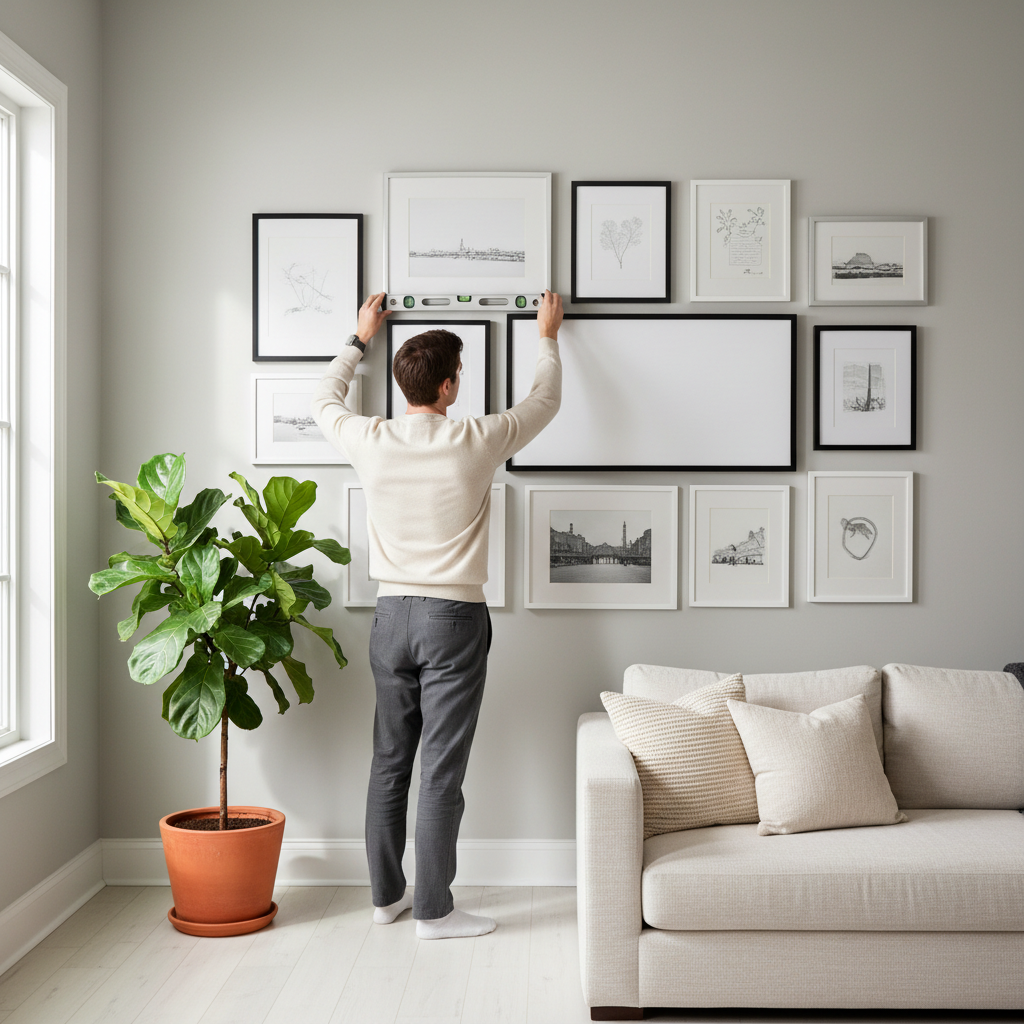
Practical “do this, not that” tips to keep frames straight
This section is the stuff that saves paint, time, and your patience.
- Do measure from a consistent reference (centerline, a level line, or the top of furniture), not random spots on the floor.
- Do pre-mark with tape if you’re testing placement, especially in rentals.
- Do account for hardware by measuring the hanger-drop on the frame back.
- Don’t assume the frame is square, some cheaper frames are slightly out, level the visual top edge, not the corners.
- Don’t overload drywall anchors, if the frame feels heavy for the wall, move to a stud or ask a professional installer.
Key takeaways: how to hang pictures straight every time is less about perfect eyesight and more about using the same reference line, measuring to the true hanging point, and preventing rotation.
Common mistakes that cause extra holes
Extra holes usually come from skipping one check that feels “too small to matter.” It matters.
- Forgetting the wire changes position under weight. If you measured the relaxed wire, the frame lands lower than expected.
- Marking the hook spot while the frame is tilted. Your hands compensate without you noticing, then the mark bakes in the tilt.
- Using the wrong fastener for wall type. Drywall, plaster, brick, and tile all need different approaches.
- Ignoring the “wobble test.” If you can twist the frame easily with one finger, it will drift later.
For older plaster walls or questionable surfaces, it may be worth consulting a handyman, especially if you’re hanging something heavy over a bed, sofa, or walkway.
Final checklist before you call it done
Run this quick list and you’ll catch most issues before they become a weekend project.
- Centerline or layout line marked, and your measurement matches that line
- Hanger-drop measured from the frame back, not guessed
- Correct fastener for weight and wall type
- Frame sits stable, minimal rotation when nudged
- Leveled from the top edge, then stepped back 6–10 feet for a visual check
Once you get the hang of it, the process feels repeatable, and that’s the real win, fewer repairs and better-looking walls.
FAQ
What’s the easiest way to hang pictures straight without a laser level?
A basic bubble level plus a centerline mark gets you most of the benefit. The big upgrade is measuring the hanger-drop so your hook lands where the frame actually hangs.
How do I figure out where to place the nail for a wire-hung frame?
Pull the wire taut upward on the back of the frame (as if it’s hanging), then measure from the frame top down to that peak. Use that as your hanger-drop in the hook-height formula.
Why does my picture look straight on the level but crooked from across the room?
Sometimes the frame itself is slightly out of square, or nearby lines (ceiling, trim, furniture) aren’t level, creating a visual illusion. In those cases, split the difference so it looks right to the eye.
Should I always hang art at 57 inches?
It’s a common starting point for the center of a piece, but furniture height, room function, and frame size can change the best-looking placement. If it’s over a sofa, the sofa often becomes the stronger reference.
How can I keep a frame from moving when doors slam or people walk by?
Try rubber bumpers on the bottom corners, and consider two hooks instead of one for wire setups. A single hook makes it easier for the frame to rotate over time.
Is it safe to hang heavy frames on drywall?
It can be, but it depends on the frame weight, the anchor type, and the wall condition. If you’re unsure, aim for a stud or ask a professional, especially in high-traffic areas.
What’s the fastest way to plan a gallery wall without constant re-hanging?
Lay it out on the floor first, then transfer measurements to the wall using painters tape outlines. Keeping spacing consistent matters more than obsessing over one frame’s exact height.
If you’re trying to hang a set of frames and want fewer guesses, a simple approach is to pick one reference line, measure hanger-drop once per frame, then commit to marks only after a quick tape mock-up, it’s the closest thing to “straight every time” without turning your living room into a construction zone.