
How to clean grout lines with homemade solution usually comes down to two things: using a cleaner that matches the stain type, and giving it enough dwell time so it can lift grime instead of just spreading it around.
If your grout keeps looking “dirty” even after you mop, you’re not imagining it. Grout is porous, so it grabs onto soap residue, oils, and hard-water minerals, and in showers it can also hold onto mildew. A quick wipe rarely reaches what’s embedded.
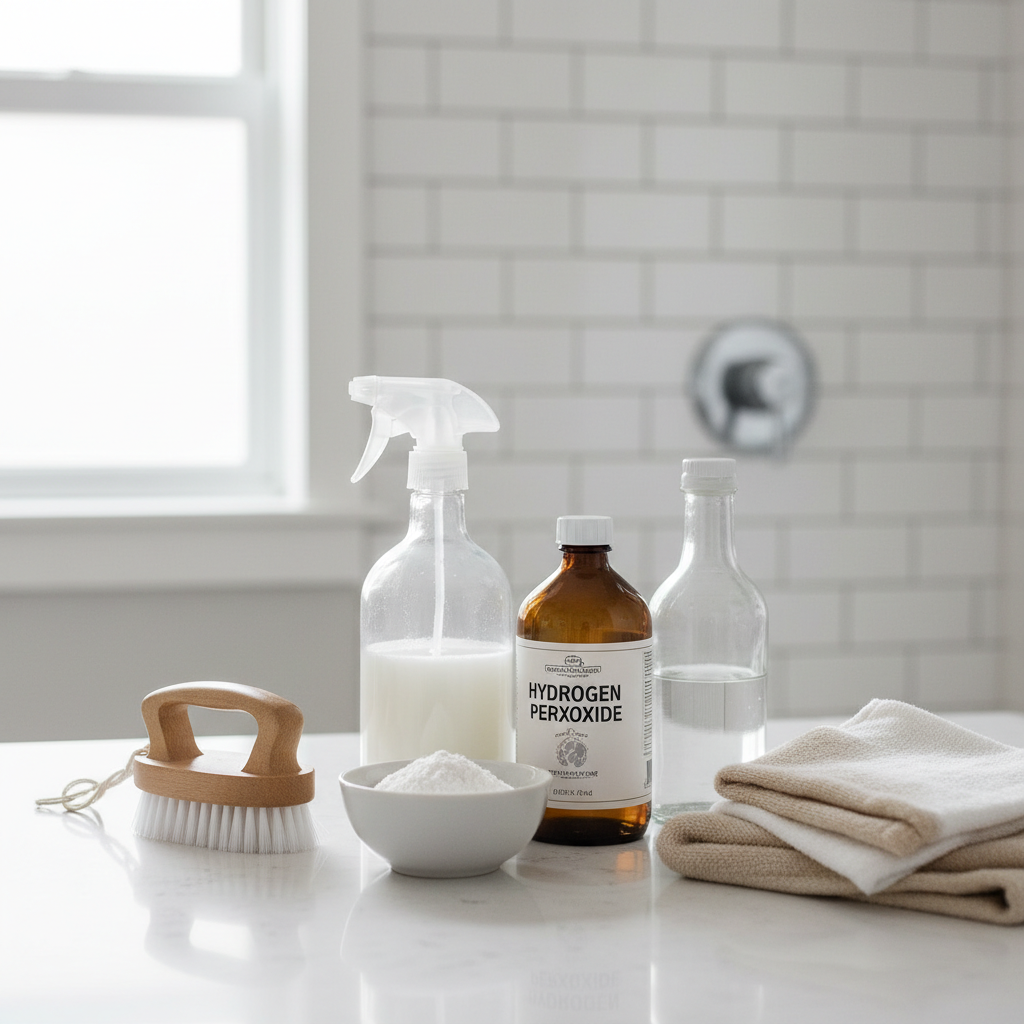
This guide keeps it practical: a few reliable DIY formulas, how to test safely, and a simple workflow that works for kitchen floors, bathrooms, and showers. I’ll also call out when “DIY” stops being worth the fight.
Why grout lines get stained (and why mopping doesn’t fix it)
Most grout discoloration is a mix of surface soil plus stuff that bonds inside the pores. The frustrating part is different stains respond to different ingredients, so the “one paste for everything” approach often disappoints.
- Soap scum and body oils: common in showers, tends to need a degreasing or mildly alkaline approach.
- Hard-water minerals: leaves a dull film, often responds to mild acids like vinegar, but not on every surface.
- Food grease: kitchens and near stoves, needs dwell time and agitation.
- Mildew/mold staining: dark spotting in damp areas, may require an oxidizer like hydrogen peroxide.
- Old sealer breakdown: when grout sealer wears off, stains set faster and deeper.
According to the U.S. Environmental Protection Agency (EPA), mold growth is driven by moisture and can be reduced by controlling humidity and fixing leaks. That matters because cleaning alone won’t keep grout looking good if the area stays damp.
Quick self-check: pick the right homemade cleaner for your grout
Before mixing anything, do a 60-second diagnosis. It saves time and helps you avoid damaging tile or grout.
- Where is it? Shower grout often has soap scum and mildew; kitchen floors lean greasy.
- Color and pattern: orange/pink film can be bacteria, black spotting may be mildew staining, dull white haze can be minerals.
- Tile type: natural stone (marble, travertine, limestone) is sensitive to acids like vinegar.
- Has it been sealed? If water darkens grout quickly, sealer may be worn and stains can penetrate deeper.
If you’re unsure about tile material, treat it like stone and avoid acids until you confirm. That conservative choice prevents expensive etching.
Homemade solutions that actually work (with a simple decision table)
Here are go-to DIY options that cover most household grout situations. Keep your expectations realistic: deep-set stains may lighten rather than disappear in one round.
| Problem | Homemade solution | Best on | Avoid when |
|---|---|---|---|
| General dingy grout | Baking soda + water paste | Most ceramic/porcelain tile | None major, still patch-test |
| Mildew staining | 3% hydrogen peroxide (spray) or peroxide + baking soda paste | Bathrooms, shower grout | Dyed fabrics nearby, sensitive finishes |
| Hard-water film | White vinegar + water (1:1) | Glazed ceramic/porcelain | Natural stone, unsealed stone, questionable surfaces |
| Kitchen grease | Warm water + a few drops of dish soap | Floors, backsplashes | Over-sudsing (leaves residue) |
Recipe 1: Baking soda paste (the “safe baseline”)
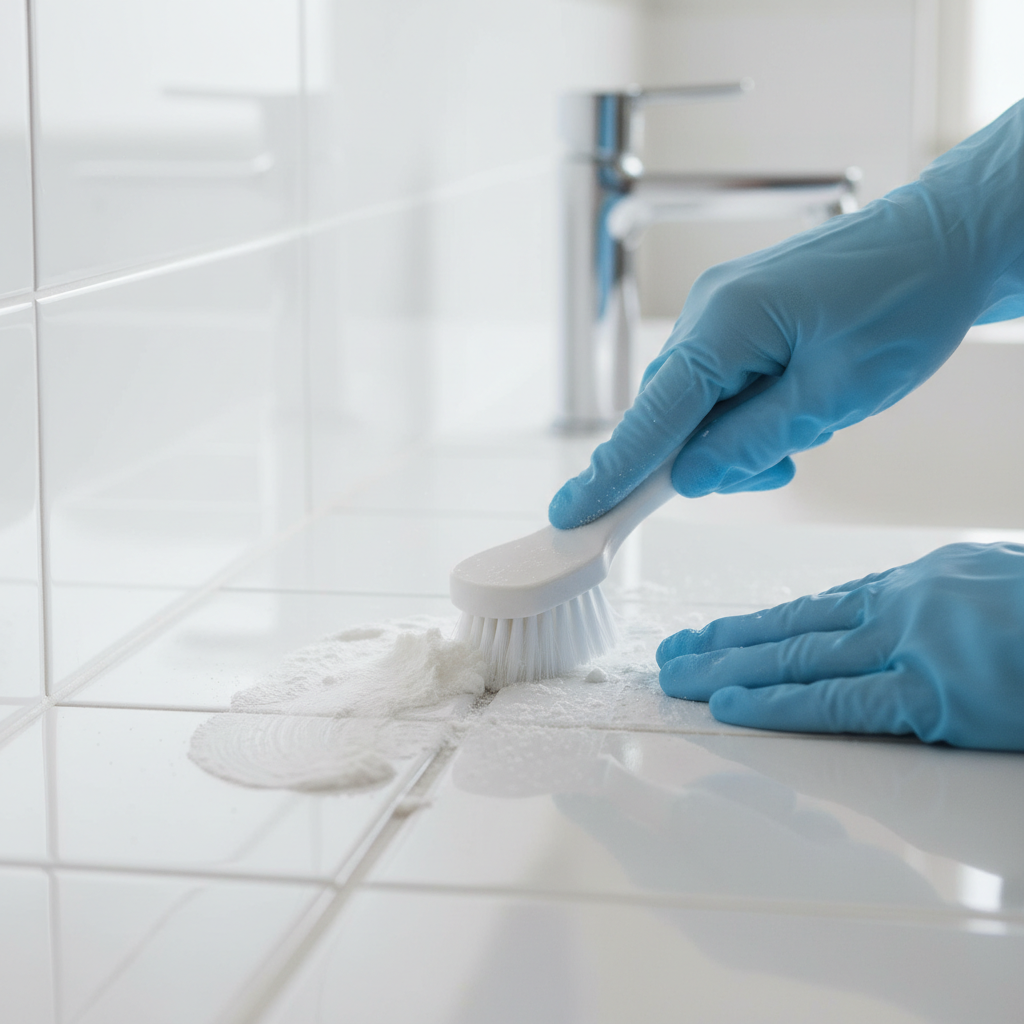
Mix about 3 parts baking soda with 1 part water to make a spreadable paste, think toothpaste texture. It’s mildly abrasive, so it lifts grime without being overly harsh in many cases.
- Apply along grout lines with a spoon or old toothbrush.
- Let it sit 10–15 minutes.
- Scrub with a nylon brush, not metal.
Recipe 2: Hydrogen peroxide for dark staining
Use common 3% hydrogen peroxide. You can spray it directly, or combine it with baking soda for more staying power on vertical shower walls.
- Spray or spread the mixture, then wait 5–10 minutes.
- Scrub, rinse well, then dry the area.
According to the National Institutes of Health (NIH), hydrogen peroxide is an oxidizing agent used as an antiseptic; in cleaning, that oxidation can help break down certain organic stains. It’s still smart to ventilate and avoid splashing.
Recipe 3: Vinegar solution (good, but not universal)
Mix equal parts white vinegar and warm water in a spray bottle. Use it mainly for mineral buildup on non-stone tile.
- Spray lightly, wait 3–5 minutes.
- Scrub gently, rinse thoroughly.
Do not mix vinegar with bleach. If you use store products sometimes, keep that separation clear to avoid harmful gases.
Step-by-step: the method that makes DIY grout cleaning work
Even the best homemade mix fails if you rush the process. The goal is: loosen, scrub, rinse, and dry, in that order.
- Dry prep: Sweep/vacuum first. Any grit turns scrubbing into sandpaper.
- Patch test: Choose a hidden corner, wait a few minutes, check for dulling or color change.
- Apply and let it sit: Dwell time matters more than scrubbing strength.
- Scrub with the right tool: A grout brush or old toothbrush works; keep pressure steady, not aggressive.
- Rinse thoroughly: Use clean water and a microfiber cloth, then rinse again if water looks cloudy.
- Dry: Towel-dry grout lines, especially in showers, to slow mildew comeback.
If you’re cleaning a floor, work in small sections so the solution doesn’t dry out before you rinse.
Safety and surface notes (the stuff people regret later)
DIY sounds gentle, but you can still damage surfaces or create irritating fumes if you mix the wrong things.
- Natural stone warning: Vinegar and other acids can etch marble, limestone, and travertine. If you have stone, stick to pH-neutral options and consider a stone-safe cleaner.
- Never combine cleaners: Don’t mix vinegar with bleach, and don’t mix peroxide with vinegar in the same bottle. When in doubt, rinse and wait between products.
- Ventilation: Bathrooms need airflow, especially with peroxide sprays.
- Brush choice: Metal or overly stiff brushes can scratch tile glaze and fray grout.
According to the Centers for Disease Control and Prevention (CDC), many cleaning chemicals can irritate eyes and lungs, and ventilation plus protective gloves can reduce risk. Even with homemade mixes, that guidance is worth following.
After it’s clean: keep grout lines lighter for longer
Once you put in the work, maintenance is where you win back your weekends. Most grout “mystery stains” are really residue plus moisture over time.
- Weekly quick clean: A small amount of dish soap in warm water, wipe, rinse, dry.
- Use less product: Too much shampoo, body wash, or floor cleaner leaves film that catches dirt.
- Run the fan: Showers need humidity control; aim to dry walls and grout faster.
- Consider resealing: If water absorbs quickly, a grout sealer can help reduce future staining, though results vary by grout type and conditions.
Key takeaway: cleaning fixes what you see today, but drying and residue control decide what you see next month.
When homemade solutions aren’t enough (and what to do next)
There’s a point where DIY becomes repetitive scrubbing with minimal improvement. These are the common signs you may need a stronger approach.
- Stains return in days: Often a moisture issue, failing caulk, or persistent mildew source.
- Grout stays dark even after drying: Staining may be deep, or grout may be deteriorating.
- Cracking or missing grout: Cleaning won’t fix integrity; regrouting or repairs may be needed.
- Large areas: A steam cleaner or a professional service can be more realistic for whole-house tile.
If you suspect extensive mold behind walls or under tile, it’s usually safer to consult a qualified professional, since the right fix may involve moisture remediation, not just cleaning.
Conclusion: a simple plan you can repeat
If you’ve been wondering how to clean grout lines with homemade solution, the repeatable formula is simple: match the mix to the stain, give it dwell time, scrub with nylon, rinse like you mean it, then dry. That’s what makes the “DIY” part actually pay off.
- Do today: Pick one recipe, patch-test, clean a small section start to finish.
- Do next: If results look good, scale up and consider resealing once grout fully dries.
If you get stuck in that cycle where grout looks clean while wet but dark again when dry, don’t keep escalating chemicals blindly, step back and check moisture, sealer, and grout condition.
FAQ
How do I clean grout lines with homemade solution without scrubbing so hard?
Increase dwell time before you scrub. A baking soda paste left for 10–15 minutes, or peroxide for 5–10 minutes, often reduces how much pressure you need.
Can I use vinegar on all tile and grout?
No. Vinegar is risky on natural stone because it can etch the surface. On ceramic or porcelain, it’s often fine in moderation, but patch-testing is still the safer move.
What’s the best homemade cleaner for black grout stains in a shower?
Many showers respond better to hydrogen peroxide than vinegar, especially if staining is organic. If the black areas keep returning quickly, moisture control and drying habits may matter more than the cleaner.
Why does grout look clean when wet but dirty when it dries?
That usually points to staining inside the grout or uneven residue. Deep-set discoloration can show again once water evaporates, and leftover cleaner film can also dry dull.
Is baking soda safe for colored grout?
Often yes, but colored grout can vary by brand and age. Patch-test first, and avoid overly aggressive brushing that can lighten the surface over time.
How long should I wait before resealing grout after cleaning?
It depends on humidity and grout thickness, but grout needs to dry fully. Many people wait at least a day or two; if you’re unsure, check the sealer label or ask a tile professional.
Can steam cleaning replace a homemade grout solution?
Steam can help loosen grime without chemicals, especially on floors, but results vary. It still helps to rinse and wipe up what the steam lifts so it doesn’t settle back into the grout.
If you’re cleaning multiple bathrooms or a large tile floor and you want a more consistent, low-hassle result, it may be worth using a purpose-built grout brush set or a grout-safe cleaner that’s matched to your tile, so you’re not guessing and redoing the same area every weekend.