
DIY shelf ideas for small walls work best when you treat the wall like “real estate” and design for what you store, not just what looks cute on Pinterest. A narrow entry, a weird slice of wall by the fridge, or that 18-inch gap next to your bed can hold a lot, if the shelf depth, height, and mounting match the job.
Small walls are tricky because one wrong move feels loud, shelves look chunky fast, and anchors fail when they’re overloaded. The upside is you can finish a small-wall shelf project in a weekend, spend less wood, and get a bigger visual payoff than you’d expect.
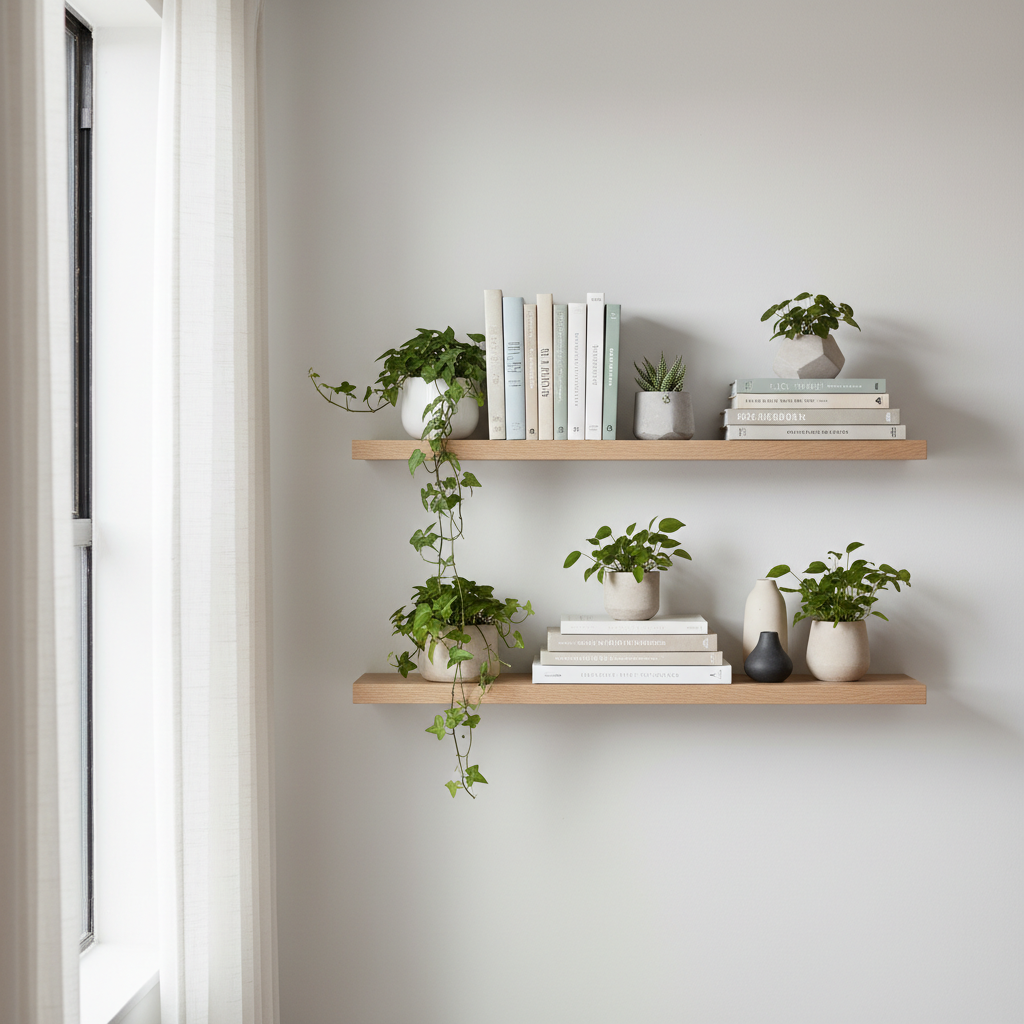
This guide breaks down why shelves “don’t work” on small walls, how to measure and choose the right style, and a handful of builds that are realistic with basic tools. I’ll also flag common mistakes like using the wrong anchor or picking a depth that steals walking space.
What makes small walls hard to shelf (and how to plan around it)
Most small-wall shelf failures come from three things: wrong scale, wrong structure, or wrong purpose. Fix those early and the build becomes straightforward.
- Scale mismatch: A 10-inch-deep shelf on a 14-inch-wide wall slice looks heavy and can feel like it sticks out into the room.
- No stud where you need it: Small walls often land between studs, near switches, or on plaster, so mounting needs more thought.
- Unclear use: “Decor shelves” and “daily-use storage shelves” want different depths, heights, and load ratings.
Before you build, decide what the shelf must hold: keys and mail, cookbooks, spice jars, kids’ books, bathroom products, or plants. That one decision will steer depth, spacing, and the hardware.
Quick self-check: which shelf setup fits your wall?
Use this quick checklist to figure out which direction to go. It saves time and keeps you from copying an idea that only works on bigger walls.
- Wall width under 20 inches: Think corner shelves, picture ledges, or a single vertical “tower” of shelves.
- High traffic area (hallway/entry): Keep depth around 4–6 inches if possible, and avoid sharp corners at shoulder height.
- Drywall with no stud access: Use a bracket style rated for your load, or choose shelves that spread load across multiple anchors.
- Renter-friendly need: Consider rail systems, adhesive options for very light items, or leaning shelves that don’t require many holes.
- You want “invisible” look: Floating shelves can work, but only if you respect weight limits and mounting points.
According to CPSC (U.S. Consumer Product Safety Commission), tip-over and falling furniture hazards are a real concern, especially around kids, so if your shelves hold anything heavy, mount them securely and keep the heaviest items low.
DIY shelf ideas for small walls (pick one that matches your use)
Below are practical DIY shelf ideas for small walls that fit tight spaces without looking like an afterthought. Each one has a “best for” so you can choose fast.
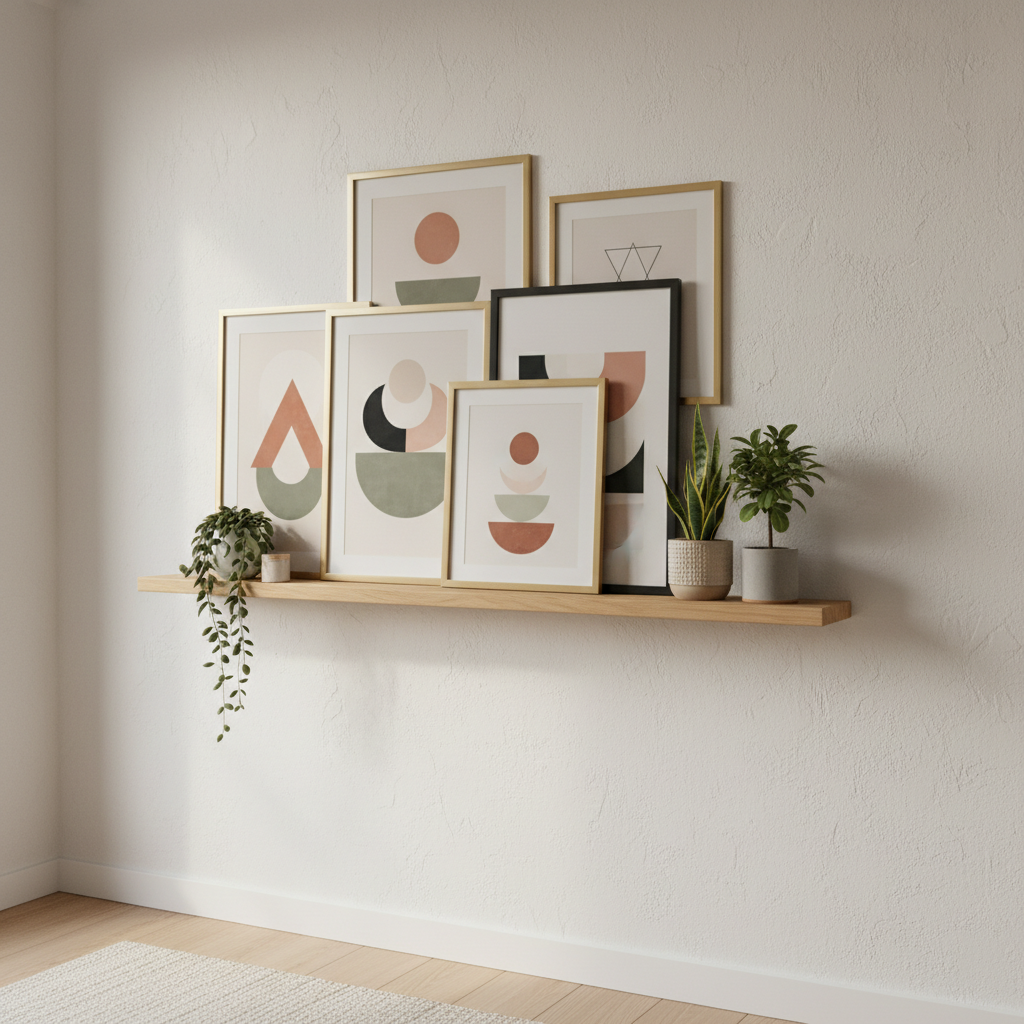
1) Picture ledge shelves (the small-wall cheat code)
Best for: frames, postcards, thin books, small decor. Picture ledges are shallow, so they don’t dominate a narrow wall.
- Depth: typically 3–5 inches
- Why it works: you can stack frames in layers without needing a deep shelf
- Build note: add a small front lip to prevent slipping
2) Skinny floating shelves for “dead space” strips
Best for: small plants, speakers, candles, toiletry baskets. The trick is going narrow and clean.
- Great spots: beside a mirror, next to a window trim, above a nightstand
- Design tip: match shelf thickness to your baseboards or window trim for a more intentional look
3) Corner shelves that “steal” unused square inches
Best for: bathrooms, kitchens, tiny bedrooms. If you’ve got a tight wall but a free corner, this is often the highest ROI option.
- Triangle shelves: simple and compact, good for light-to-medium storage
- Wraparound corner shelves: more surface area, better for baskets or folded towels
- Look tip: repeat the same shelf height increments so it feels planned, not random
4) Vertical “shelf tower” with brackets (small wall, big storage)
Best for: pantry overflow, kids’ books, craft supplies. This is a stack of short shelves aligned vertically, which fits walls that are narrow but tall.
- Spacing: tighter for paperbacks, wider for baskets
- Practical win: you can hit studs on at least one side sometimes, even on narrow sections
5) Over-the-door mini shelf (when the wall is truly tiny)
Best for: renters, toiletries, cleaning supplies. Not everyone loves the look, but it’s extremely functional in small apartments.
- Noise tip: add felt pads where hooks touch the door
- Safety tip: keep heavier items lower so the door feels stable
Choose shelf depth, spacing, and materials (simple rules that prevent regret)
Small walls punish “close enough” measurements. Here are rules that usually keep the shelf useful and visually light.
- Depth: 4–6 inches for hallways and tight walkways, 6–10 inches for books and baskets, deeper only when you have clearance.
- Vertical spacing: 8–10 inches for decor, 10–12 inches for most books, 12–16 inches for baskets and taller bottles.
- Thickness: thinner looks better on small walls, but very thin shelves can sag sooner under load.
- Materials: plywood with edge banding is stable; solid pine is easy to work with but can warp; hardwood looks great but costs more.
If you want a quick sanity check, place painter’s tape on the wall to outline the shelf size, then live with it for a day. It sounds silly, but it catches clearance problems early.
Hardware and mounting: what’s safe, what’s sketchy
Mounting is where DIY shelf ideas for small walls either become a win or a headache. Small walls often mean fewer stud options, so your anchor choice matters.
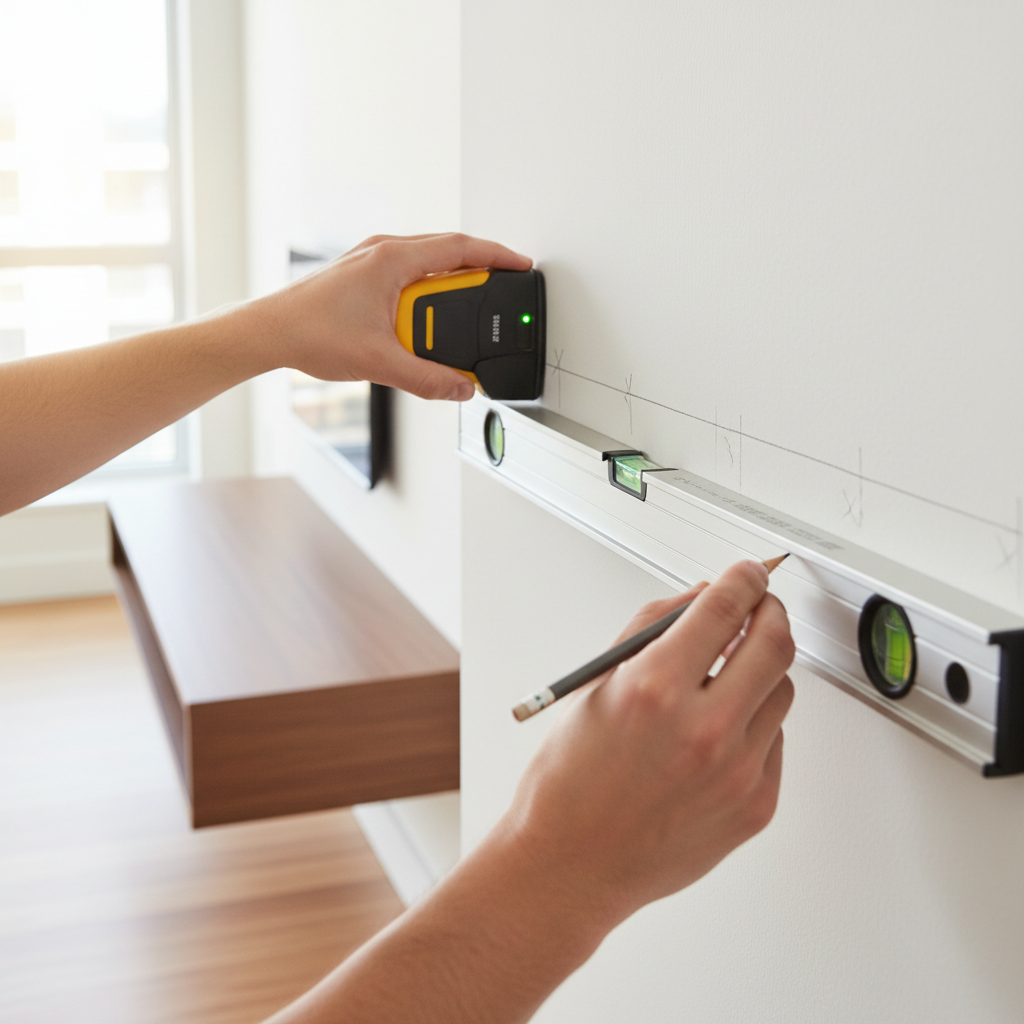
General guidance: if the shelf will hold anything breakable or heavy, consider finding at least one stud, using a French cleat, or using a bracket system designed for the weight. If you’re unsure about wall type or load limits, it’s reasonable to consult a handyman or contractor.
- Stud-mounted brackets: usually the most dependable for heavier shelves.
- Toggle bolts: often strong in drywall when installed correctly, but they require a larger hole.
- Plastic expansion anchors: fine for light loads, but easy to overtrust.
- Adhesive strips: only for very light decor and only on suitable surfaces, follow manufacturer instructions closely.
According to The Home Depot, locating studs and choosing the correct anchor type for your wall and load is a key step for safe shelving, especially when studs aren’t available exactly where you want the shelf.
Build plans you can actually finish (3 straightforward approaches)
You don’t need a full woodshop to pull this off. Pick the approach that matches your tools and tolerance for “perfect.”
Approach A: Simple bracket shelf (fastest, most forgiving)
- Cut shelf board to width, sand edges.
- Mark level line, locate studs if possible.
- Mount brackets, then attach shelf from below or the top depending on bracket style.
- Paint or seal after test-fitting if you want cleaner edges.
When to choose it: you want real storage and don’t mind seeing brackets.
Approach B: Picture ledge with front lip (small, tidy, high impact)
- Use a shallow base board and a thin front strip as the lip.
- Glue and nail the lip, then fill nail holes.
- Mount with screws into studs when possible, or use rated anchors for light loads.
When to choose it: you want a polished look and mostly decorative weight.
Approach C: French cleat shelf (strong, great for awkward stud placement)
- Cut a board at a 45-degree angle to create two matching cleats.
- Mount one cleat to the wall, ideally into studs.
- Attach the other cleat to the shelf box, then hang it onto the wall cleat.
When to choose it: you need strength and a cleaner look than visible brackets.
Small-wall shelf sizing table (use this as a starting point)
These ranges cover most everyday needs. Real limits depend on your wall type, bracket/anchor rating, and how the load sits on the shelf.
| Use case | Suggested depth | Suggested spacing | Notes |
|---|---|---|---|
| Frames + small decor | 3–5 in | 8–10 in | Picture ledge style helps prevent tipping |
| Paperbacks + small plants | 5–7 in | 9–12 in | Keep watering drip trays in mind |
| Cookbooks | 8–10 in | 10–13 in | Heavier load, prioritize stud mounting |
| Bathroom baskets | 6–10 in | 12–16 in | Humidity-resistant paint or sealant helps |
| Entry catch-all | 4–6 in | 10–12 in | Consider rounded corners for safety |
Common mistakes (that make shelves look cramped or fail early)
- Going too deep: the shelf becomes a shoulder-check hazard in tight walkways.
- Overloading “decor shelves”: thin ledges and invisible brackets have limits, even when they look sturdy.
- Ignoring outlets and switches: you end up with a shelf that blocks plugs or makes cords drape awkwardly.
- Uneven spacing: small walls make inconsistency more obvious, measure once, then measure again.
- Skipping wall checks: plaster, tile, and old drywall can behave differently, if you’re not sure, ask a pro before drilling.
Key takeaways before you drill
- Shallow beats bulky on narrow walls, picture ledges are the easiest win.
- Plan for the load and pick hardware that matches your wall type, not just the shelf style.
- Tape the outline first to catch clearance problems in real life.
- Repeat heights and align edges with nearby trim to make the shelf feel intentional.
Conclusion: make the small wall do one job really well
If you’re stuck staring at a skinny wall section, the fix is rarely “more shelf,” it’s the right shelf. Start by naming what you want to store, choose a depth that respects your walkway, then pick mounting that matches the weight. Most DIY shelf ideas for small walls look good when they look calm, not crowded.
If you want a practical next step, outline one shelf option with painter’s tape today, then build the simplest version of it this weekend, you can always upgrade the finish later.
FAQ
- What is the best shelf depth for a small wall?
In many homes, 4–6 inches works well for tight areas like hallways, while 6–10 inches fits books and baskets. The “best” depth depends on what you’ll store and how close people walk past it. - Are floating shelves safe on drywall without studs?
They can be, but it depends on the bracket design and anchor rating, plus how much weight you place on the front edge. For heavier items, it’s usually smarter to hit a stud or use a cleat/bracket system designed for load. - How do I make shelves look less crowded on a narrow wall?
Use fewer, shallower shelves, leave some empty space, and keep objects in a tight color palette. Picture ledges help because they keep items visually “flat” to the wall. - What are renter-friendly shelf options for small walls?
Over-the-door storage, rail systems that use fewer holes, and very-light-duty adhesive solutions can work in some situations. Always follow the product instructions and keep weight conservative. - How high should I hang shelves in a small entryway?
For a catch-all shelf, many people place it around chest height so it’s usable without blocking sightlines, but outlets, light switches, and coat hooks may change that. Tape it out first to confirm comfort. - Can I put shelves on tile in a bathroom?
Sometimes, but drilling tile risks cracks if you use the wrong bit or pressure. If you’re unsure, consider a freestanding option or ask a professional, especially for heavier shelving. - How do I keep a small wall shelf from sagging?
Use a stiffer shelf material, reduce span length, add a center support when possible, and avoid loading heavy items near the outer edge. Sagging is often a leverage problem, not just a “weak wood” problem.
If you’re planning shelves but feel stuck between “too bulky” and “not enough storage,” a simple sketch with wall measurements, target depth, and what you want to store makes the decision much easier, and it can save you from buying the wrong brackets or drilling extra holes.