
How to clean grout in bathroom tiles usually comes down to two things: what kind of grime you’re dealing with, and whether your grout is sealed or basically acting like a sponge.
If you’ve ever scrubbed until your wrists hurt and the lines still look gray, you’re not alone. Bathroom grout collects soap scum, body oils, hard-water minerals, and sometimes mildew, and each one responds to a different approach.
This guide breaks it into simple, real-life scenarios, with a quick test to pick the right method, plus a small tool list, a time-saving workflow, and what to do so you’re not cleaning the same stains again next month.
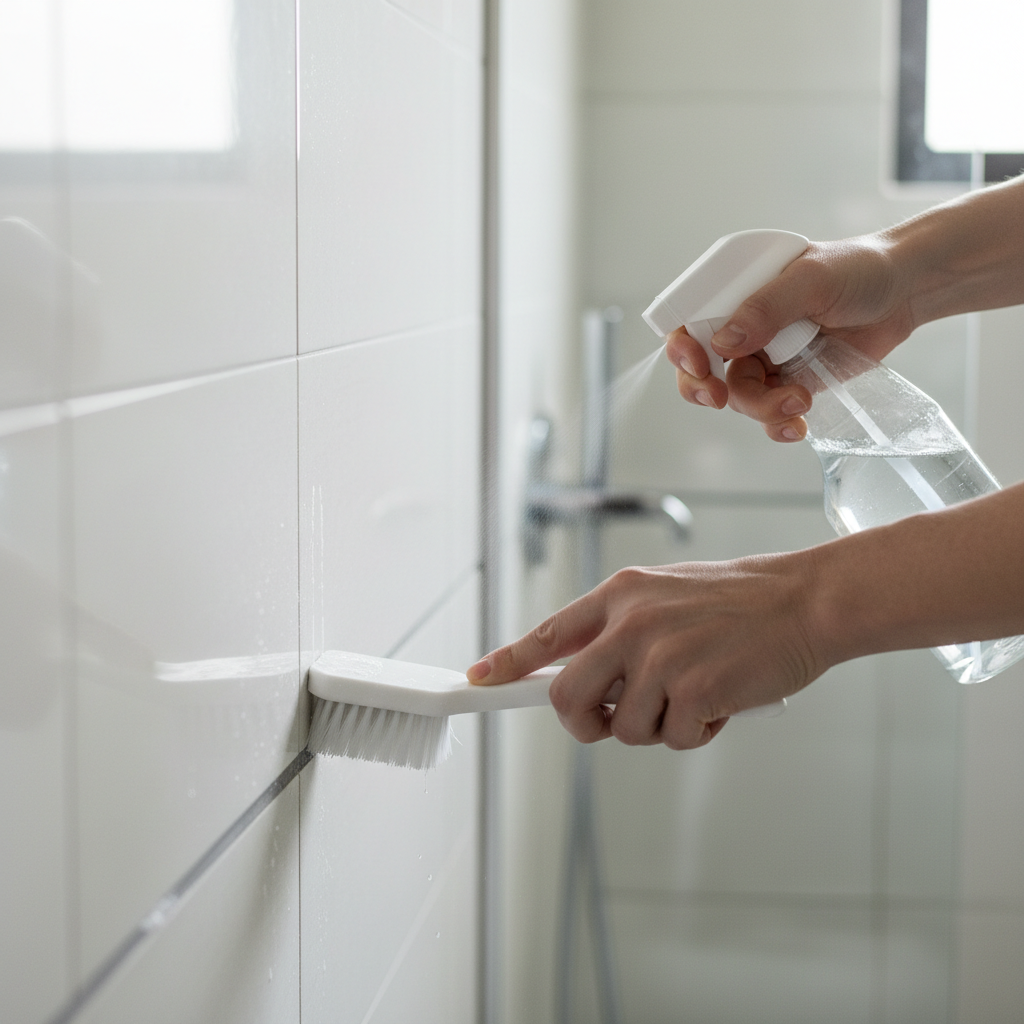
What’s actually making your grout look dirty
Grout discoloration isn’t always “dirt.” In bathrooms, the most common culprits look similar but behave differently when you clean.
- Soap scum + body oils: Leaves a dull film that traps more dirt. Often wipes better after a degreasing step.
- Hard-water minerals: Chalky or crusty buildup, especially near showerheads and along tub lines, tends to need an acid-based cleaner.
- Mildew or mold: Dark spotting in damp corners or along caulk edges, may respond to oxidizers, but recurring growth usually signals ventilation or leak issues.
- Old sealer wearing off: When grout is unsealed, stains sink in and “cleaning” becomes more like stain removal.
According to the U.S. Environmental Protection Agency (EPA), controlling moisture is a key step to prevent mold growth, which matters because cleaning alone won’t fix a consistently damp bathroom.
A quick self-check: pick the right cleaning method in 60 seconds
Before you grab whatever spray is under the sink, do two tiny tests. They save time and reduce the chance of damaging tile or grout.
1) Water-drop test (sealed vs. unsealed grout)
- Place a few drops of water on a grout line.
- If it beads for 1–2 minutes, grout is likely sealed and easier to clean.
- If it darkens quickly, grout is absorbing water, staining tends to be deeper, and sealing later is worth planning.
2) “Feel test” (film vs. mineral)
- Rub a small area with a damp microfiber cloth.
- If it feels slimy or waxy, think soap scum/oils.
- If it feels rough or gritty, think mineral scale.
Once you know what you’re fighting, how to clean grout in bathroom tiles becomes much more predictable, and you won’t waste effort on the wrong chemistry.
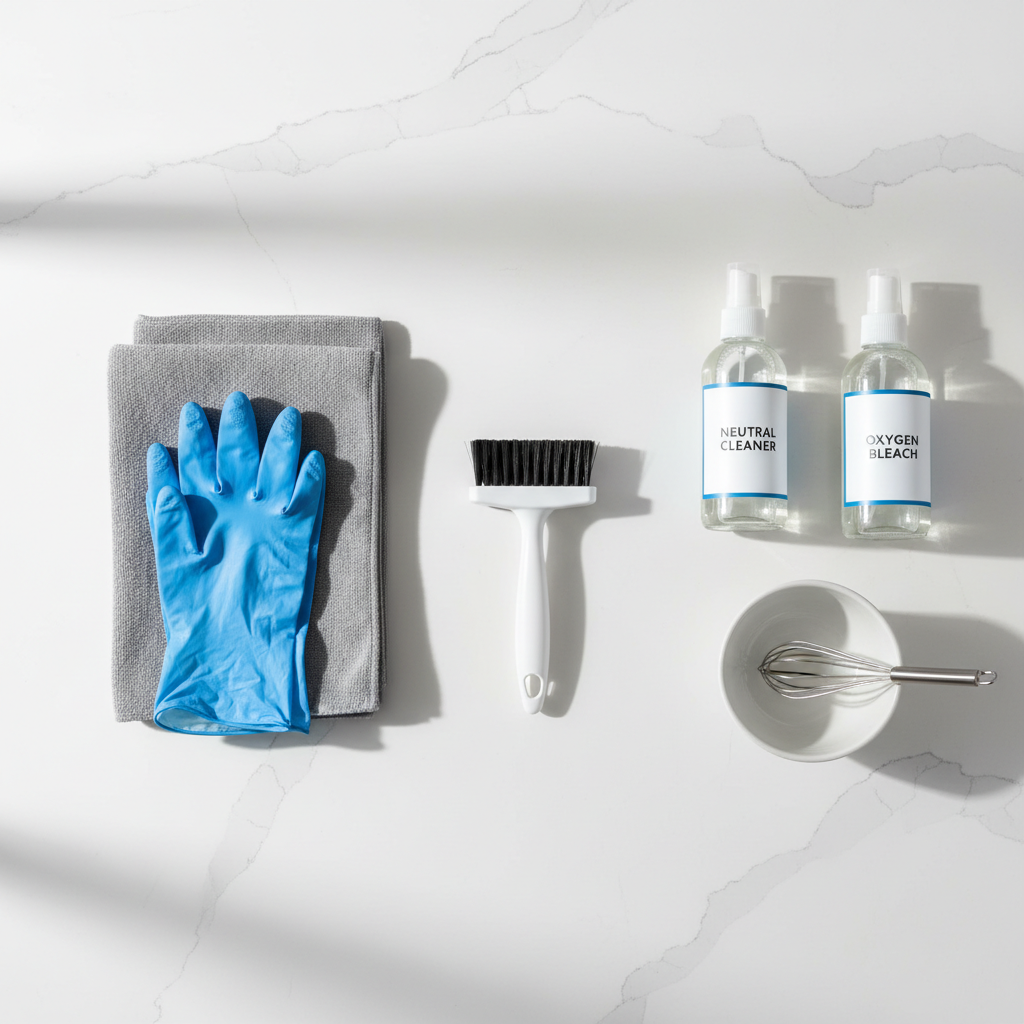
Tools and supplies that make the job faster (not harder)
You don’t need a shopping spree, but the right couple of items make a bigger difference than people expect.
- Stiff nylon grout brush or an old toothbrush for tight spots (avoid metal brushes on most tile/grout).
- Microfiber cloths for lifting residue without redepositing grime.
- Spray bottle for even coverage and controlled dwell time.
- Neutral pH tile cleaner for routine cleaning, especially on natural stone.
- Oxygen bleach (powder) for organic staining and general brightening.
- White vinegar or a mild acidic cleaner for mineral buildup on many ceramic/porcelain tiles (not for many stones).
- Gloves and ventilation, and eye protection if splashing is possible.
If your bathroom has natural stone (marble, travertine, limestone), pause here: acidic products can etch stone, so a stone-safe cleaner is the safer default, and a pro opinion may be worth it for expensive surfaces.
Effortless step-by-step: the workflow that reduces scrubbing
The “effortless” part is mostly about dwell time and rinsing well. Let the cleaner do the work, then scrub briefly and remove the slurry.
Step 1: Dry prep and a quick rinse
- Run the exhaust fan and open a window if possible.
- Rinse tile with warm water to remove loose dust and hair.
- If there’s a heavy soap film, wipe once with a damp microfiber cloth first.
Step 2: Apply the right cleaner and wait (don’t skip this)
- For soap scum/oils: use a bathroom degreasing cleaner or a gentle alkaline cleaner, then wait 5–10 minutes.
- For organic staining: mix oxygen bleach per label directions, apply as a paste to grout, wait 10–15 minutes.
- For mineral scale: use a mild acidic cleaner on compatible tile, wait 2–5 minutes, keep it from drying out.
Many people scrub immediately and then blame the brush. In practice, chemistry plus a few minutes of patience does most of the lifting.
Step 3: Short, targeted agitation
- Scrub grout lines with a nylon brush using small back-and-forth strokes.
- Focus on corners and the first 2–3 feet around the showerhead and faucet, that’s where buildup concentrates.
Step 4: Rinse like you mean it
- Rinse with clean warm water.
- Wipe with microfiber until no cleaner residue remains, residue can attract new dirt.
Step 5: Dry the area
- Towel-dry grout lines or run a fan for faster drying.
- If mildew is a recurring issue, drying is not optional, it’s prevention.
Choose-your-situation solutions (with a simple table)
If you want the “tell me what to do” version, match your grout problem to the approach below.
| What you see | Likely cause | What to try | Watch out for |
|---|---|---|---|
| Gray film across many grout lines | Soap scum + oils | Degreasing bathroom cleaner + dwell time, then brush | Leaving residue, rinse thoroughly |
| White crust near fixtures | Hard-water minerals | Mild acidic cleaner on compatible surfaces | Avoid acids on many natural stones |
| Dark specks in corners | Mildew/mold (often moisture-driven) | Oxygen bleach, improve ventilation | Recurrence if moisture source remains |
| One or two stubborn stains | Deep staining in unsealed grout | Oxygen bleach paste, repeat; consider grout stain pen | Over-scrubbing can erode grout |
| Grout stays dark even when clean | Worn grout, permanent discoloration | Professional deep clean, re-grout, or color seal | Some DIY acids can worsen appearance |
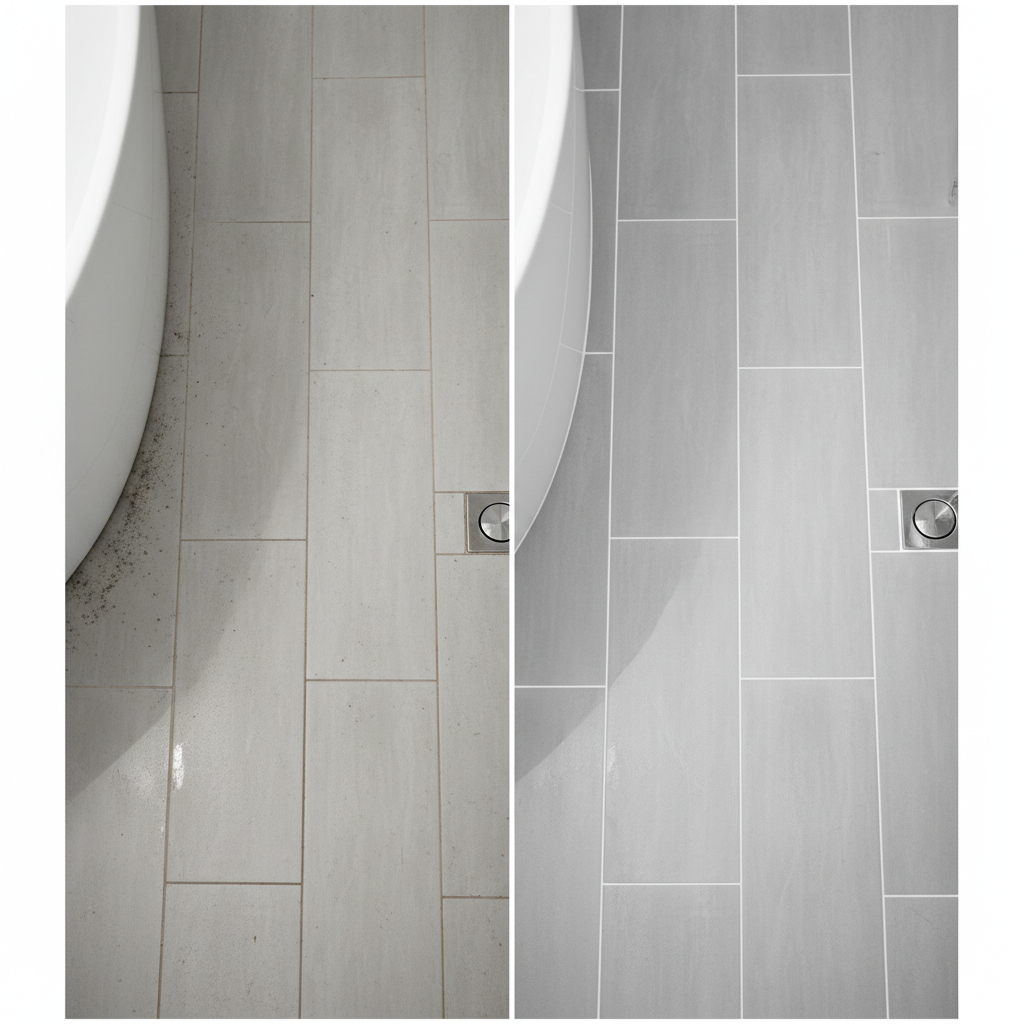
Big mistakes that make grout cleaning harder than it needs to be
A few common moves can turn a 20-minute job into an afternoon, or worse, make grout look rough and patchy.
- Mixing cleaners: Especially bleach with ammonia or acids, which can create harmful fumes. If you’re unsure, don’t combine products, rinse and ventilate between steps.
- Using vinegar on stone: Works on many ceramic/porcelain tiles, but can etch marble, travertine, and limestone.
- Letting product dry on the surface: Dried cleaner can leave haze and pull grime back into pores when you re-wet it.
- Over-scrubbing with abrasive tools: Can erode grout lines and make them hold dirt faster.
- Ignoring the caulk line: If the “grout stain” is actually on caulk, scrubbing won’t fix it, caulk may need replacement.
According to CDC guidance on mold cleanup, using appropriate protection and ensuring good ventilation can reduce exposure risk, and that’s a sensible baseline when you’re working in a small shower stall with cleaners.
Keep it clean longer: sealing, maintenance, and moisture control
If you’re serious about how to clean grout in bathroom tiles less often, prevention matters more than a stronger brush.
After cleaning: consider sealing (when appropriate)
- If the water-drop test showed fast absorption, a grout sealer often helps reduce future staining.
- Let grout dry fully before sealing, many products call for 24–72 hours depending on humidity.
- Follow label directions, and test in a small hidden spot first, some sealers can slightly change appearance.
Weekly “low effort” routine
- After showers, run the fan for 20–30 minutes if available.
- Quick squeegee on tile, then a fast wipe along grout where water pools.
- Use a neutral pH cleaner weekly instead of waiting for heavy buildup.
Fix the reason mildew returns
- Check for slow leaks at the shower valve, tub spout, and toilet base.
- Upgrade ventilation if the mirror stays fogged for a long time.
- Wash shower curtains and liners regularly, they can re-seed spores onto grout.
When it’s time to call a pro (or switch strategies)
Sometimes the issue isn’t cleaning technique, it’s that the surface has changed.
- Cracked or missing grout: Water can get behind tile, a repair beats repeated cleaning.
- Persistent mold smell: Could suggest moisture behind walls; a qualified professional can assess safely.
- Natural stone uncertainty: If you don’t know whether your tile is stone or porcelain look-alike, a tile pro can help you avoid etching.
- Color unevenness after cleaning: Color sealing or re-grouting may give a better long-term result than harsher chemicals.
If you have respiratory conditions or sensitivities, it may be safer to consult a professional or your healthcare provider about exposure to cleaning fumes, especially in tight bathrooms.
Key takeaways (so you can act today)
- Match the cleaner to the problem: oils, minerals, and mildew don’t respond the same way.
- Dwell time beats elbow grease in most bathrooms, don’t rush the waiting step.
- Rinsing and drying reduce residue and help prevent fast re-soiling.
- If grout absorbs water quickly, sealing after cleaning often makes maintenance easier.
If you want one practical next step, do the water-drop test today, then clean one small section using the correct method, once you see the result, it’s easier to finish the rest without guessing.
FAQ
What is the easiest way to whiten grout in a bathroom?
For many homes, oxygen bleach is a solid “easy” option because it brightens organic staining with less harsh odor than some alternatives. The real trick is applying it as a paste and giving it time before light brushing and thorough rinsing.
Can I use vinegar and baking soda on grout?
It’s popular, but results vary. Baking soda is mildly abrasive and vinegar is acidic, together they fizz but the reaction can reduce cleaning power. Vinegar can help with mineral scale on compatible tile, but it’s not recommended on many natural stones.
How often should I deep clean bathroom grout?
Many bathrooms do fine with a deeper grout clean every 1–3 months, depending on shower frequency, ventilation, and water hardness. If you’re constantly fighting buildup, improving moisture control usually helps more than increasing frequency.
Why does grout still look dirty after I scrub it?
Common reasons include cleaner residue, mineral deposits that need an acid-based approach, or staining that penetrated unsealed grout. It can also be grout wear, where the surface gets rough and holds discoloration even after cleaning.
Is it safe to use bleach on grout?
Bleach can work in some situations, but it may be irritating in small bathrooms and can damage some materials if misused. Never mix bleach with other cleaners, ventilate well, and consider oxygen bleach as a gentler alternative for many organic stains.
How do I know if my grout needs sealing?
If water darkens the grout quickly in the water-drop test, it’s likely absorbing moisture and stains more easily. Sealing may help, but it’s best done after a proper clean and full drying time.
Will steam cleaning grout work?
Steam can loosen grime and reduce chemical use, especially on sealed grout and tile. On older, crumbly grout, high heat and moisture may not be ideal, so test a small area and stop if you see erosion.
If you’re trying to clean grout fast because you have guests coming, or you’d rather not experiment with different products on tile you can’t easily replace, a local tile-and-grout cleaning service or stone-safe product line can be a more straightforward route, especially when the surface type is uncertain.