
How to organize cleaning supplies under sink starts with one reality check, that cabinet is a cramped, damp, awkward space, so the goal is not “perfect,” it is safe, reachable, and easy to reset in under two minutes.
If yours turns into a pile, it usually costs time every week, you buy duplicates, you knock over bottles, and you end up avoiding quick cleanups because getting to the spray takes effort.
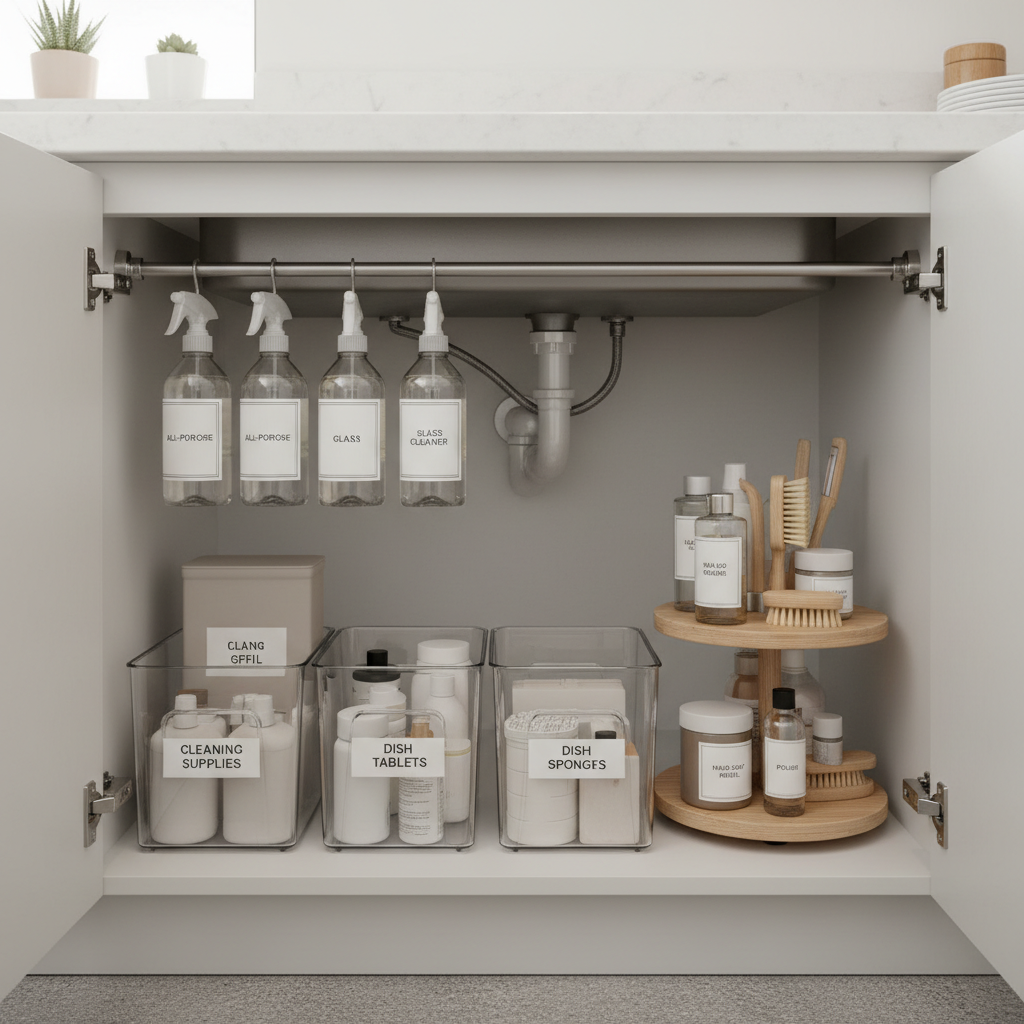
This guide walks you through a simple setup that works in most American kitchens and bathrooms, including what to store elsewhere, what containers actually help, and how to keep leaks and fumes from turning into a headache.
Start with a 10-minute reset: empty, wipe, and toss the “maybe” items
Pull everything out, yes, all of it, because you cannot organize around mystery grime and half-empty bottles. Wipe the base and the back wall, then check for moisture around the trap and shutoff valves.
- Recycle or trash empty containers and dried-out wipes.
- Combine duplicates only if the product is the same brand and formula, otherwise keep them separate.
- Quarantine leakers in a tray for now, you will decide later if they stay.
According to the American Cleaning Institute, you should store household cleaning products in their original, labeled containers, this matters under a sink where bottles bump and tip.
Know what should NOT live under the sink (common safety misses)
Under-sink storage tends to run warm and humid, plus it is often near kids and pets, so a few “normal” habits are worth reconsidering. If you only change one thing, make it this, keep incompatible chemicals apart and keep risky items out of that cabinet.
- Do not store flammables (many solvents, some aerosols) in a hot, enclosed cabinet, check the label and follow it.
- Avoid mixing zones for bleach and ammonia-based cleaners, they should not be side-by-side where spills can combine.
- Skip overflow storage of large refills if the cabinet has plumbing leaks or frequent condensation.
- Move medications and cosmetics elsewhere, under-sink humidity can degrade them.
According to the CDC, mixing certain household cleaners can create dangerous gases, if you are uncertain what a product contains, treat it as incompatible and separate it, or ask a professional.
Map the space around plumbing, then create 3 practical zones
Most people fail at how to organize cleaning supplies under sink because they try to use the full footprint as one big shelf. Plumbing steals the middle, the cabinet door steals depth, and the back corner turns into a dead zone.
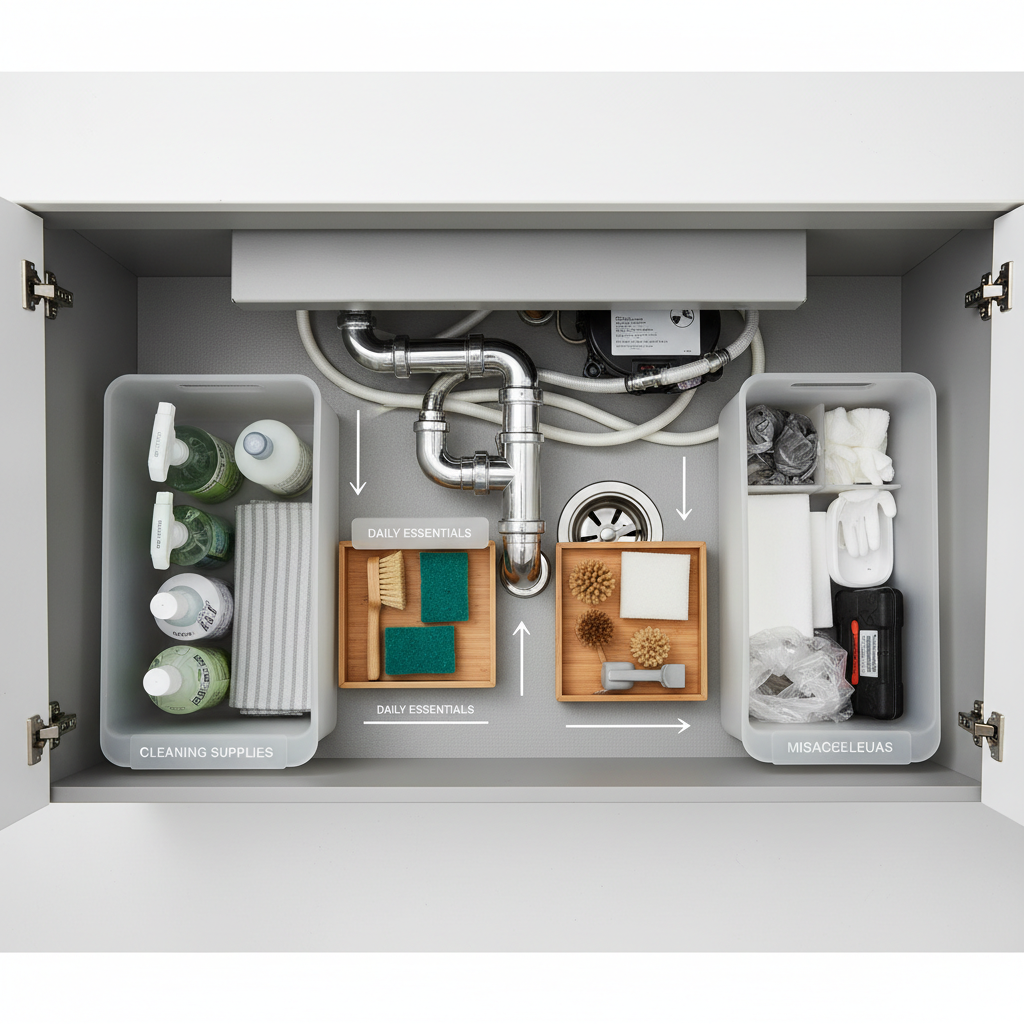
Instead, build zones that match how you clean, not how the cabinet looks.
- Daily/weekly grab zone (front): sprays, dish soap, sponge refills, wipes you reach for often.
- Deep-clean zone (side or back): scrubbers, grout brush, stronger cleaners you use occasionally.
- Spill-proof reserve zone (contained): refills, pods, extra trash bags, all inside a tray or bin.
One rule keeps this sane, if you cannot reach it without kneeling and moving two things, it belongs in the “occasional” zone or somewhere else.
Choose organizers that work in a wet, cramped cabinet (and skip the gimmicks)
You do not need a fancy system, you need pieces that tolerate drips and let you pull items out without unpacking the whole cabinet.
What usually works
- Pull-out bins (not fixed drawers): you can lift them out to refill or wipe spills.
- Watertight tray under liquids: catches leaks, makes cleanup one wipe.
- Tension rod for spray bottles: hangs triggers, frees up the floor space.
- Lazy Susan for small bottles: only if your cabinet has enough clearance to spin without hitting pipes.
- Labeling: simple, large words, “GLASS,” “DISINFECT,” “DISH,” “BATH.”
What often disappoints
- Stacking narrow acrylic towers that tip when the cabinet floor is uneven.
- Complicated multi-tier racks that block shutoff valves, you want access in case of a leak.
- Fabric bins, they absorb leaks and odors.
A simple setup you can follow, step by step
If you want a no-drama plan, do this in order and stop when it feels usable, you do not have to “optimize” forever.
- Line the base with a washable mat or tray, especially under liquids.
- Install a tension rod near the top, test spray bottle clearance before committing.
- Place two pull-out bins in front, one “daily” and one “bath/kitchen” depending on location.
- Assign a back bin for deep-clean tools, brushes, gloves, microfiber.
- Create a refill corner in a leak tray, keep it small, only what you will use within a reasonable time.
- Add labels facing outward, so anyone in the house can reset the system.
Keep the door pocket for light items only, a small brush, trash bags, maybe gloves, heavy bottles on the door tend to sag hinges over time.
Quick self-check: which under-sink situation do you have?
Before you buy containers, match your approach to your actual constraints, this prevents the “organized for three days” cycle.
- Frequent leaks or dampness: prioritize trays, reduce liquids stored, and keep paper products elsewhere.
- Very small cabinet: use the rod, one slim bin, and move backups to a closet.
- Kids or pets at home: consider a childproof latch and keep stronger products higher and contained.
- You hate labeling: use color-coded bins, one for kitchen, one for bath, one for laundry.
- Multiple people cleaning: put a “return here” label on the front bin, clarity beats aesthetics.
What to store where: a practical table (so you stop guessing)
This is the part most people want, a quick “does it belong here” reference. Labels vary by product, so treat this as a starting point and follow the container instructions.
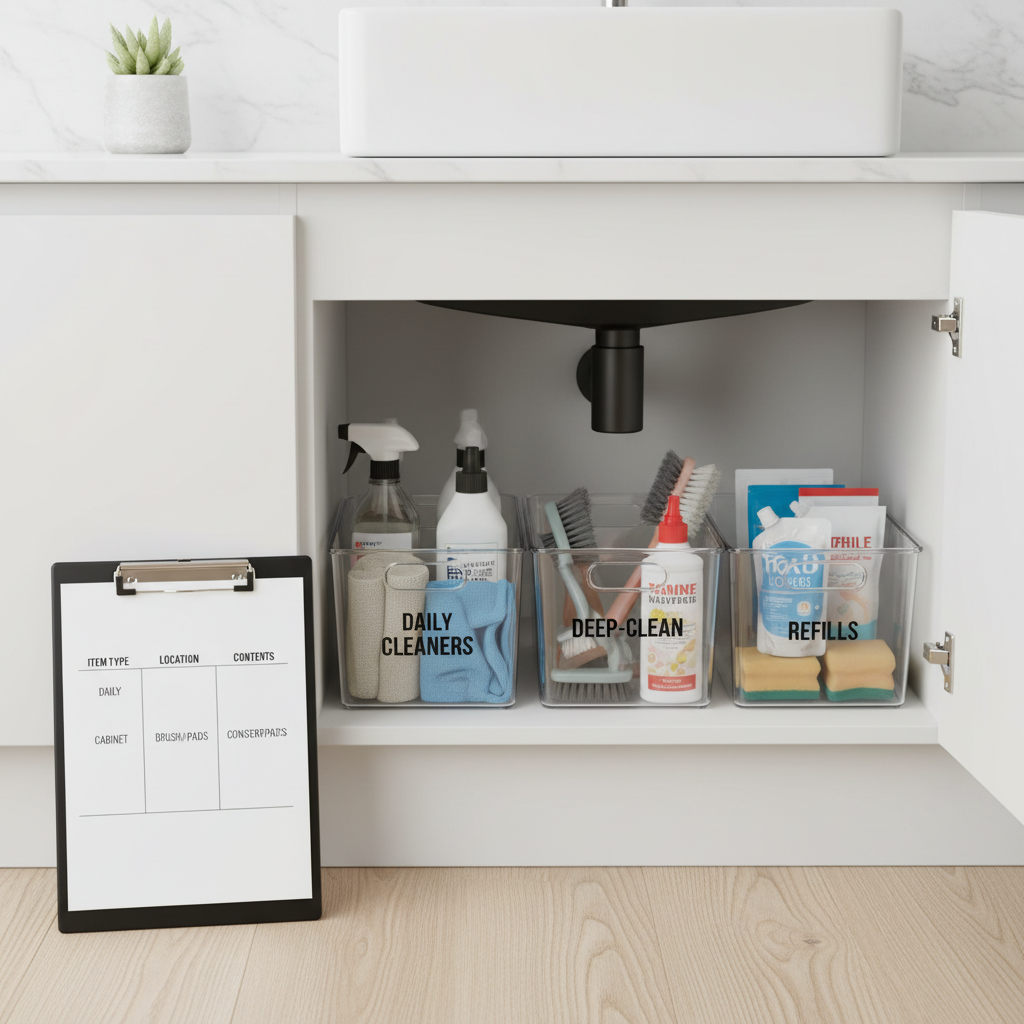
| Item | Under sink? | How to store |
|---|---|---|
| Dish soap, surface spray | Usually yes | Front bin, upright, label facing out |
| Bleach products | Sometimes | Separate bin or tray, away from other chemicals |
| Ammonia-based cleaners | Sometimes | Separate from bleach, keep caps tight |
| Dishwasher pods | Depends | Sealed container, dry spot, out of reach of kids |
| Paper towels, spare sponges | Often no | Move to pantry/closet to avoid humidity damage |
| Gloves, brushes, microfiber | Yes | Back bin, keep dry items away from leakers |
| Large refill jugs | Sometimes | Leak tray, only keep what you will realistically use |
Mistakes that quietly undo your organization (and how to avoid them)
Most under-sink systems fail for boring reasons, not because you chose the wrong bin brand.
- Keeping “just in case” products: if you have not used it in a year, it is probably not a staple.
- No reset rule: decide where the top five items return, otherwise clutter rebounds.
- Ignoring expiration or separation: some chemicals lose effectiveness over time, and accidental mixing is a real risk.
- Blocking shutoff valves: organize so you can reach valves fast, especially in older homes.
Key takeaways: keep liquids contained, store incompatibles apart, put frequently used items in front, and make it easy to reset without thinking.
When it makes sense to get extra help
If you notice persistent moisture, moldy smells, or cabinet swelling, organization alone will not fix it, a plumber or maintenance pro can help you locate the source. If you have concerns about chemical exposure, especially around children, pregnancy, asthma, or pets, it may be wise to consult a medical professional or your local poison control resources for guidance.
Conclusion: keep it simple, and keep it easy to maintain
How to organize cleaning supplies under sink does not need to turn into a weekend project, once you separate products by use and risk, contain anything that can leak, and give yourself one or two pull-out bins, the cabinet stays functional with minimal effort.
Pick one action today, either add a leak tray under liquids or create a front “daily” bin, then do a 60-second reset after your next cleaning session, that habit keeps the system alive.