
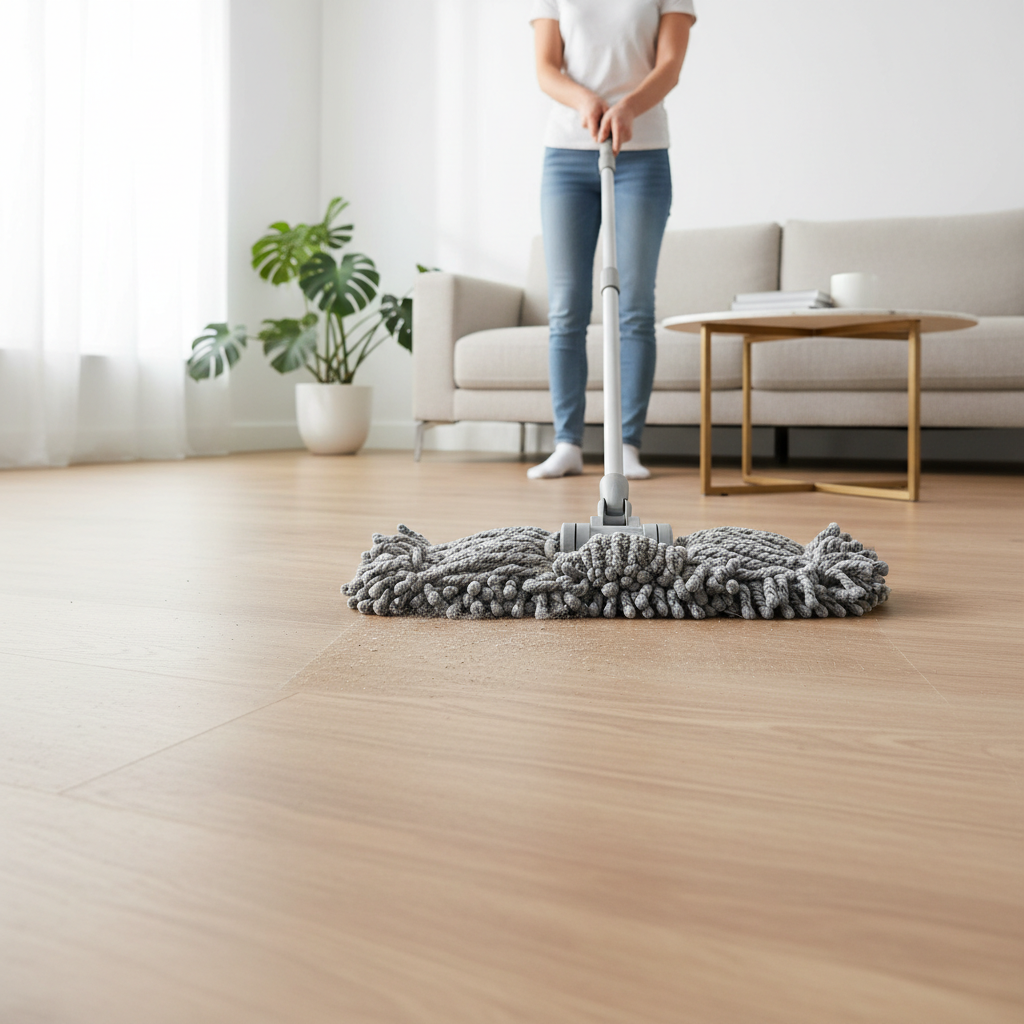
how to clean laminate floors properly comes down to one idea: remove grit safely, then use as little moisture as you can get away with.
If you’ve ever finished “cleaning” and ended up with haze, streaks, or edges that look a little puffy, you’re not alone. Laminate is durable for day-to-day life, but it’s not forgiving when water sits in seams or when cleaners leave residue.
This guide walks you through a realistic 2026 routine, what tools matter (and what’s just marketing), plus quick fixes for the most common laminate-floor headaches. You’ll also get a simple decision checklist so you can stop guessing and start doing the one or two things your floor actually needs.
Why laminate floors get streaky or damaged so easily
Laminate looks like wood, but the surface you walk on is a wear layer over a decorative print, sitting on a fiberboard core. The core is the weak link: when water sneaks into seams, it can swell or ripple, and that damage often doesn’t “dry back” to normal.
In real homes, the same few patterns cause most problems.
- Too much water: wet mops, steam mops, or “soaking” sticky spots, water finds seams fast.
- Wrong cleaner: soaps, oil-based polishes, or DIY mixes that leave film, that film grabs dirt and creates haze.
- Grit left behind: sand and tiny stones act like sandpaper, dulling the finish and making floors look dirty right after cleaning.
- Hard water: minerals can dry as streaks, especially in sunlit areas.
According to the National Wood Flooring Association (NWFA)... moisture is a frequent cause of flooring issues and manufacturers commonly recommend using minimal water and avoiding steam on many floor types. For laminate specifically, always prioritize the care instructions from your floor brand, because warranties can be picky about what “approved” means.
A quick self-check: what kind of “dirty” are you dealing with?
Before you grab another bottle, take 30 seconds and match your situation. Your cleaning method should change based on what you see.
- Looks dull everywhere, no sticky feel: usually dust + cleaner residue, not “deep dirt.”
- Streaks you only see at an angle: often too much product, hard water, or a dirty mop pad.
- Sticky patches (kitchen, entry): food oils, dried spills, or tracked-in grime need targeted spot cleaning.
- Dark lines at seams: dirt packed into bevels, or early moisture damage; treat gently.
- Edges lifting or puffiness: possible water intrusion; stop wet cleaning and consider professional advice.
If you’re unsure, do a small test area in a low-visibility corner. Laminate is consistent, so the test spot usually tells you what the whole floor will do.
Tools and products that actually help (and what to skip)
You don’t need a closet full of gear, but you do need the right “contact surface” so you’re not smearing grime around.
Recommended basics
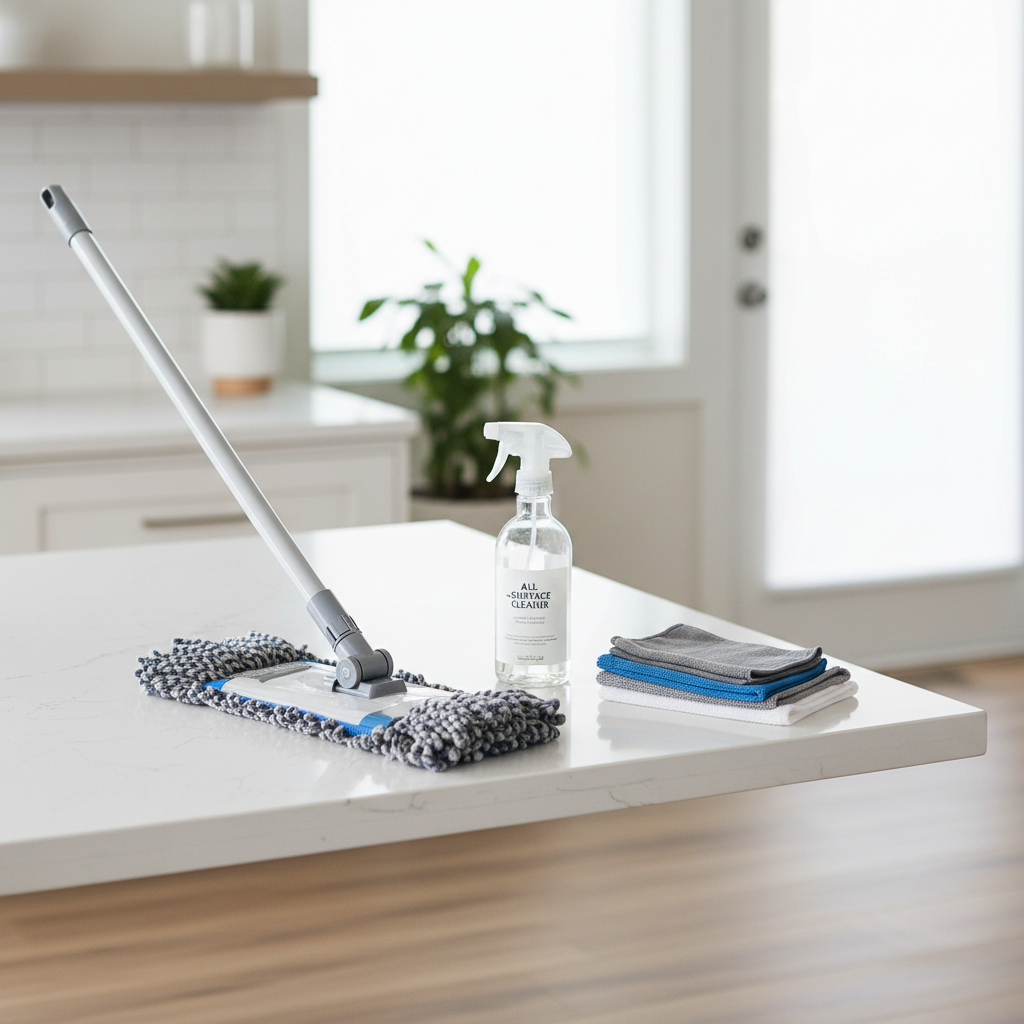
- Microfiber dust mop or microfiber flat mop with washable pads
- Soft-brush vacuum (hard-floor setting, beater bar off if possible)
- Spray bottle for controlled misting (or a ready-to-use laminate cleaner)
- Clean, dry microfiber cloths for buffing
Cleaners: what usually works
- pH-neutral floor cleaner labeled for laminate: tends to minimize residue risk.
- Distilled water (if you get streaks from tap water): helps when minerals are the real culprit.
What to avoid in many cases
- Steam mops: heat + moisture can push vapor into seams, even if it “dries fast.”
- Soapy solutions (dish soap, all-purpose soap): common haze-maker over time.
- Wax, polish, oil treatments: laminate isn’t meant to be “fed,” these often create slippery buildup.
- Abrasive pads: can scratch the wear layer.
The core routine: how to clean laminate floors properly (weekly plan)
This is the safest default routine for most U.S. homes: low moisture, high grit removal, and no lingering film.
Step 1: Dry clean first (this is non-negotiable)
Vacuum with a soft floor attachment or run a microfiber dust mop slowly. Focus on entries, around the stove, and under dining chairs where grit collects.
- Pick up crumbs and sand before any damp cleaning, or you’ll grind it in.
- Check wheels and furniture feet for trapped debris if you see repeating scratch lines.
Step 2: Light mist, not a “wet mop”
Spray cleaner onto the mop pad or lightly onto the floor in a small section, then mop with long passes. Your goal is a surface that dries in a minute or two, not a glossy wet sheen.
- Work in 3x3 or 4x4 foot sections.
- Flip or change pads when they look gray, a dirty pad causes streaks fast.
Step 3: Quick buff in problem areas
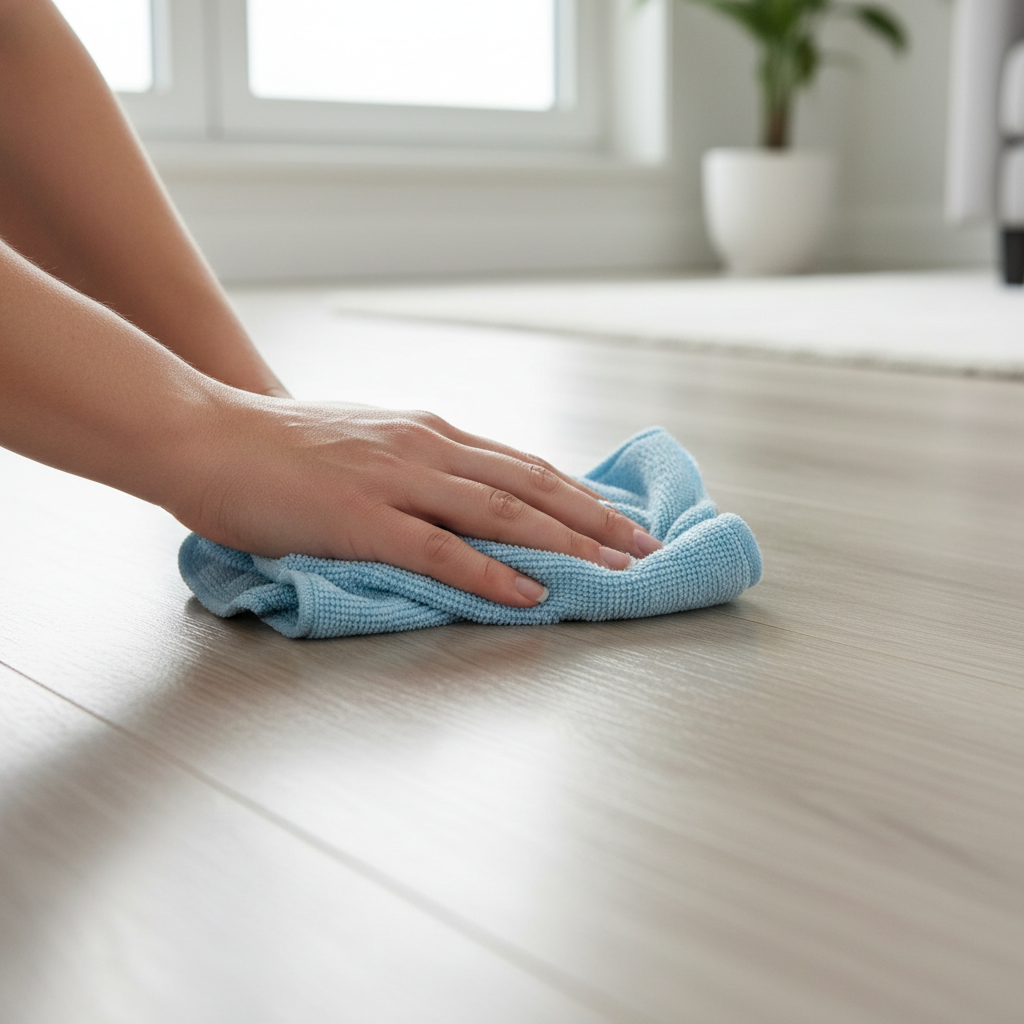
If you see streaks, buff with a dry microfiber cloth right away. This is especially useful in sunlight paths, where haze shows up the most.
Spot-cleaning playbook: sticky spills, scuffs, and kitchen grease
Most frustration comes from a few ugly spots that make you over-clean the entire floor. Handle those spots directly, then return to your normal routine.
Sticky food or dried spills
- Lay a barely damp microfiber cloth on the spot for 30–60 seconds, then wipe.
- If needed, add a small amount of laminate-safe cleaner to the cloth, not a puddle on the floor.
- Dry the area immediately.
Shoe scuffs
- Start with a dry microfiber cloth and firm pressure.
- If it doesn’t budge, use a slightly damp cloth with a drop of laminate-safe cleaner, then dry.
Cooking grease haze near the stove
- Clean the zone more frequently, grease film builds quietly.
- Use a pH-neutral laminate cleaner and a fresh pad, then buff dry to prevent smears.
When you’re tempted to scrub harder, pause. On laminate, “harder” often means “duller” a month later.
Residue and streak fixes (when your floor looks worse after cleaning)
If you mop and the floor looks cloudy, it’s usually not because it’s still dirty, it’s because something stayed behind.
Common causes and what to do
| What you see | Likely cause | Fix |
|---|---|---|
| Hazy film across the room | Soap/polish residue | Dry vacuum, then clean with a laminate-safe cleaner using minimal moisture, finish with a dry buff |
| Streaks in sunlit areas | Too much product or dirty pad | Use less cleaner, swap pads more often, buff dry immediately |
| White-ish streak lines | Hard water minerals | Try distilled water for the damp step, avoid over-spraying |
| “Clean” but still looks gritty | Dry debris not removed first | Increase dry cleaning frequency, especially entryways and pet zones |
If you previously used wax or oil polish, residue removal can take several gentle passes over a couple of cleanings. Don’t try to fix months of buildup in one aggressive session.
Mistakes that quietly shorten laminate life
- Letting water sit: even “just a little” around the sink, pet bowls, or wet shoes adds up.
- Using a string mop or sponge mop: they hold too much water and tend to push moisture into seams.
- Assuming “more cleaner = cleaner floor”: extra product usually becomes extra residue.
- Skipping doormats: most scratches start as entry grit, not cleaning mistakes.
- Dragging heavy furniture: use felt pads and lift when possible.
According to the Consumer Product Safety Commission (CPSC)... following label directions on cleaning products helps reduce exposure risks and prevents unsafe mixing, which matters if you’re tempted to combine cleaners to “make it stronger.”
Key takeaways (save this)
- Dry first, every time, because grit causes dullness and micro-scratches.
- Use minimal moisture, floors should dry fast with no visible pooling.
- Choose residue-light products, and avoid soaps, waxes, and oil polishes.
- Spot-clean sticky messes instead of over-washing the whole room.
- Buff dry when you see streaks, it’s often the simplest fix.
When it’s time to get professional help (or at least a second opinion)
If you see swelling at seams, bubbling, widespread lifting, or a musty smell near a repeated water source, cleaning won’t solve the root issue. Many cases involve moisture from spills, leaks, wet mopping, or humidity patterns, and the right fix depends on the floor system and what’s underneath.
For suspected water intrusion, consider contacting the flooring manufacturer or a qualified flooring contractor. If a leak is possible, a licensed plumber may be the right next call. When mold is a concern, it’s usually smarter to consult a remediation professional rather than trying stronger chemicals at home.
Conclusion: keep it simple, keep it dry, keep it consistent
Once you understand how laminate reacts to water and residue, the method stops feeling complicated. Dry removal handles the gritty “dirty,” low-moisture mopping handles the film, and spot cleaning keeps you from overdoing it.
If you want one small action today, switch to a microfiber pad system and start changing pads more often. If streaks drive you crazy, try distilled water for a week and see if the shine comes back without extra product.
FAQ
- How often should I mop laminate floors?
Most households do well with a weekly low-moisture mop, plus dry dusting a few times a week in high-traffic zones. If you have pets or kids, dry cleaning usually matters more than adding more wet mopping. - Can I use vinegar on laminate?
Some people do, but it’s not universally recommended. Acidic DIY mixes can be risky for certain finishes and may conflict with manufacturer guidance, so check your flooring care instructions before making it your routine. - Is a steam mop safe for laminate floors?
In many cases, no. Steam can drive moisture into seams even when the surface looks dry, and that’s where laminate tends to fail. If your manufacturer explicitly approves steam, follow their limits closely. - Why do my laminate floors look cloudy after cleaning?
Cloudiness is often residue from soap, polish, or too much cleaner, sometimes mixed with hard water minerals. Reduce product, swap to clean pads more often, and buff dry to see a quick improvement. - What’s the best mop for laminate?
A flat microfiber mop with washable pads is a safe bet because it controls water and lifts fine dust. The “best” choice still depends on your layout, but avoid mop heads that stay saturated. - How do I remove sticky spots without damaging seams?
Use a barely damp microfiber cloth, let it soften the spill briefly, wipe, then dry immediately. The key is short contact time with moisture, not soaking. - Can I use Swiffer-type products on laminate?
Many people do with good results, but check your specific laminate brand’s guidance. If you notice haze over time, it can mean you need less product or more frequent pad changes.
If you’re trying to keep laminate looking new without experimenting on your own floor, using a laminate-approved cleaner and a simple microfiber system tends to be the least stressful path, especially when you want a routine you can repeat every week without surprises.