
how to organize canned goods in pantry neatly comes down to two things: you need a layout that fits your space, and you need a “reset” routine that keeps it from sliding back into chaos.
If your cans tumble when you grab one, or you keep buying duplicates because you can’t see what you already have, you’re not alone, pantries fail more from visibility than from lack of storage. A neat system saves time on weeknights, reduces food waste, and makes grocery runs feel less random.
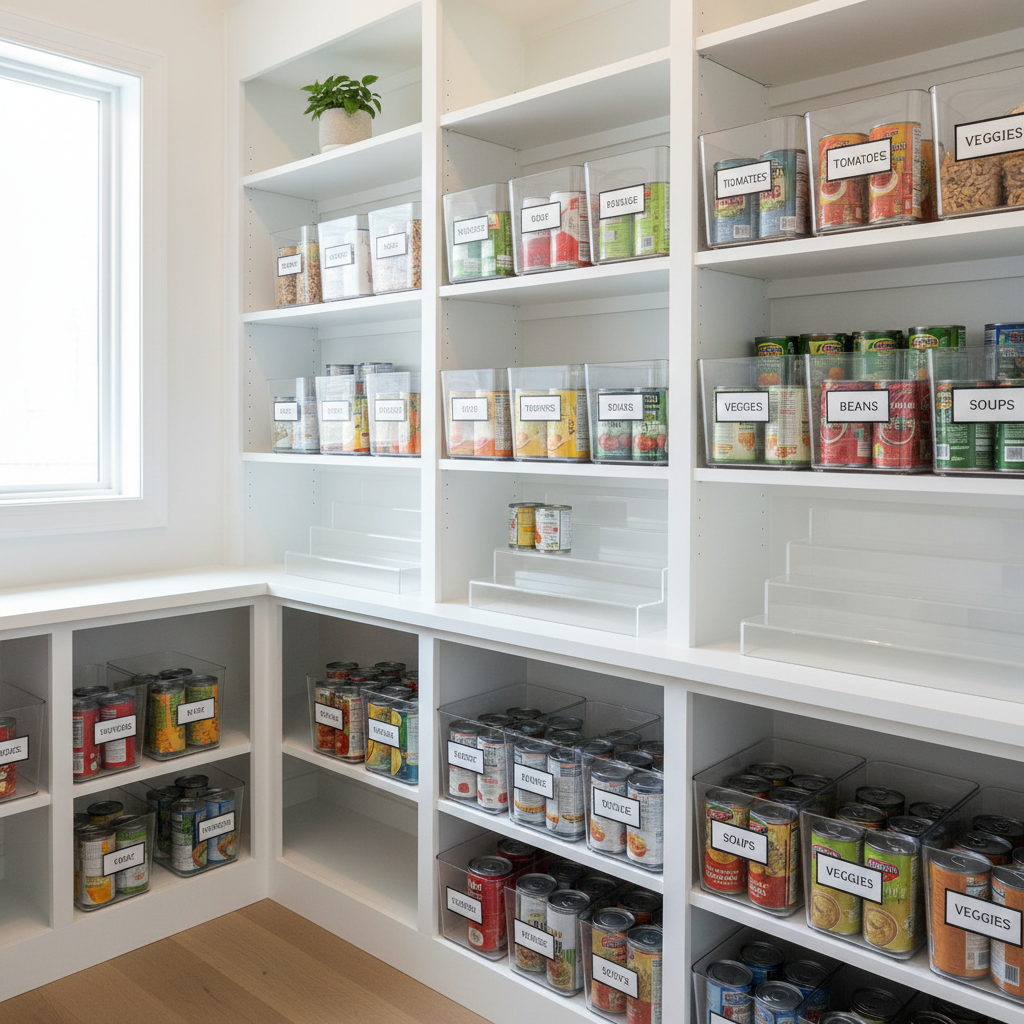
Also, “neat” doesn’t mean Pinterest-perfect. In many real kitchens, it means you can scan shelves in five seconds, pull a can with one hand, and restock without rearranging the whole pantry.
Start by fixing the two real problems: visibility and access
Most messy canned shelves happen for predictable reasons, and it helps to name them before you buy organizers.
- Everything looks the same from the front, so you miss items and overbuy.
- You stack cans too deep, so older cans hide in back until they expire.
- Shelves become “miscellaneous zones”, usually because categories aren’t clear.
- Restocking breaks the system when new cans land wherever there’s space.
When you’re deciding how to organize canned goods in pantry neatly, your goal is simple: make the next can you need the easiest can to grab, and make the oldest can the next one you use.
A quick self-check: which pantry situation are you in?
Pick the description that matches your space, then you’ll know which tools matter and which are optional.
- Small pantry, limited shelf depth: you need vertical zones, risers, and tight categories.
- Deep shelves or corner shelves: you need pull-out bins or turntables so nothing disappears.
- No pantry, just cabinets: you need short stacks, risers, and one “backstock” spot elsewhere.
- Family pantry with high volume: you need a simple restock rule and a backstock shelf.
If you’re still not sure, stand where you usually cook and ask: can I see my top 10 cans without moving anything? If not, visibility needs to lead your plan.
Build simple zones that match how you actually cook
Categories work best when they reflect your real meals, not a perfect grocery taxonomy. A practical starting point looks like this:
- Meal starters: diced tomatoes, tomato sauce, beans, broth, coconut milk.
- Quick proteins: tuna, chicken, chili, canned lentils.
- Vegetables & sides: corn, peas, green beans.
- Soups: keep together if you buy multiple brands or flavors.
- Specialty: pumpkin, enchilada sauce, artichokes, etc.
Put the categories you reach for weekly at eye level. Put heavy or rarely used cans lower, not because it looks nicer, but because it’s safer and easier on your back.
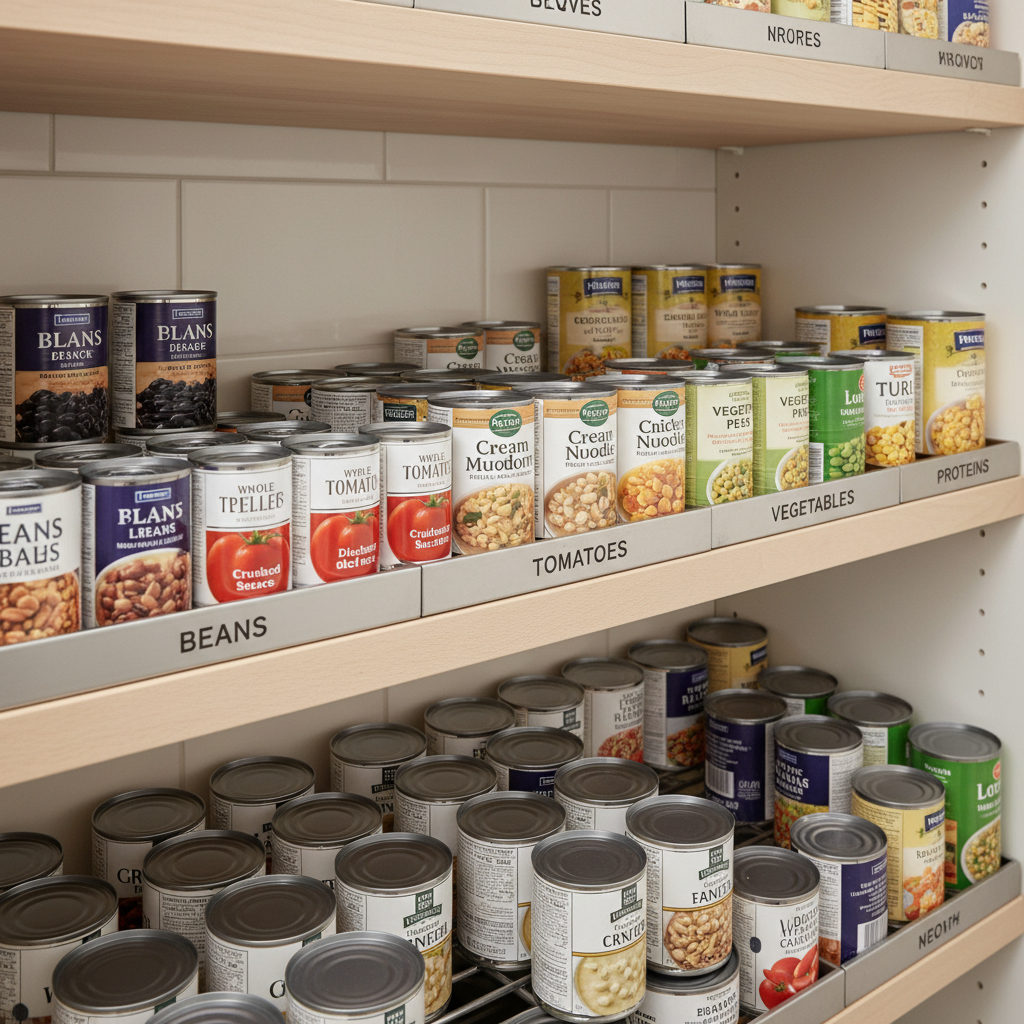
According to USDA, checking package dates and rotating pantry items helps reduce food waste and keeps food quality consistent, which is exactly what good zones support when you keep older items in front.
Choose the right setup: stack, step, or roll (with a quick comparison table)
There’s no single “best” organizer, it depends on shelf depth and how many cans you keep. Use this as a practical selector.
| Option | Best for | Pros | Watch-outs |
|---|---|---|---|
| Can risers (tiered steps) | Shallow shelves, high visibility | See labels fast, cheap, easy reset | Not great for very tall cans, can slide if flimsy |
| Clear bins (pull-out style) | Deep shelves, mixed categories | Nothing gets lost, easy to restock | Can waste vertical space if bins are too tall |
| Can dispensers (gravity feed) | High-volume staples | Natural FIFO rotation, compact rows | Fits standard sizes best, can jam if overloaded |
| Turntables (lazy Susans) | Corner shelves, small collections | Access is easy, great for short cans | Not ideal for heavy, tall stacking |
If you’re aiming for how to organize canned goods in pantry neatly without buying much, start with a single riser and one bin for “overflow,” then expand only if you notice a repeat pain point.
A step-by-step method that stays neat after you restock
This is the part most people skip: the system has to survive a grocery haul.
1) Empty one shelf, not the whole pantry
Pull everything off one shelf, wipe it down, and sort into your categories on the counter. Keeping the scope small makes you finish.
2) Set “front rules” and “back rules”
- Front rule: open-soon items and duplicates you want to use first live at the front.
- Back rule: backstock sits behind the active row, or in a dedicated backstock bin.
3) Restock using a simple rotation habit
When new cans come in, slide older ones forward and place new ones behind. You don’t need perfect date sorting, just a consistent motion.
4) Label only what you’ll actually maintain
In real pantries, labels work when they’re broad: “Beans,” “Tomatoes,” “Soup.” If you label down to “Black Beans vs Pinto,” the labels tend to rot as your buying changes.
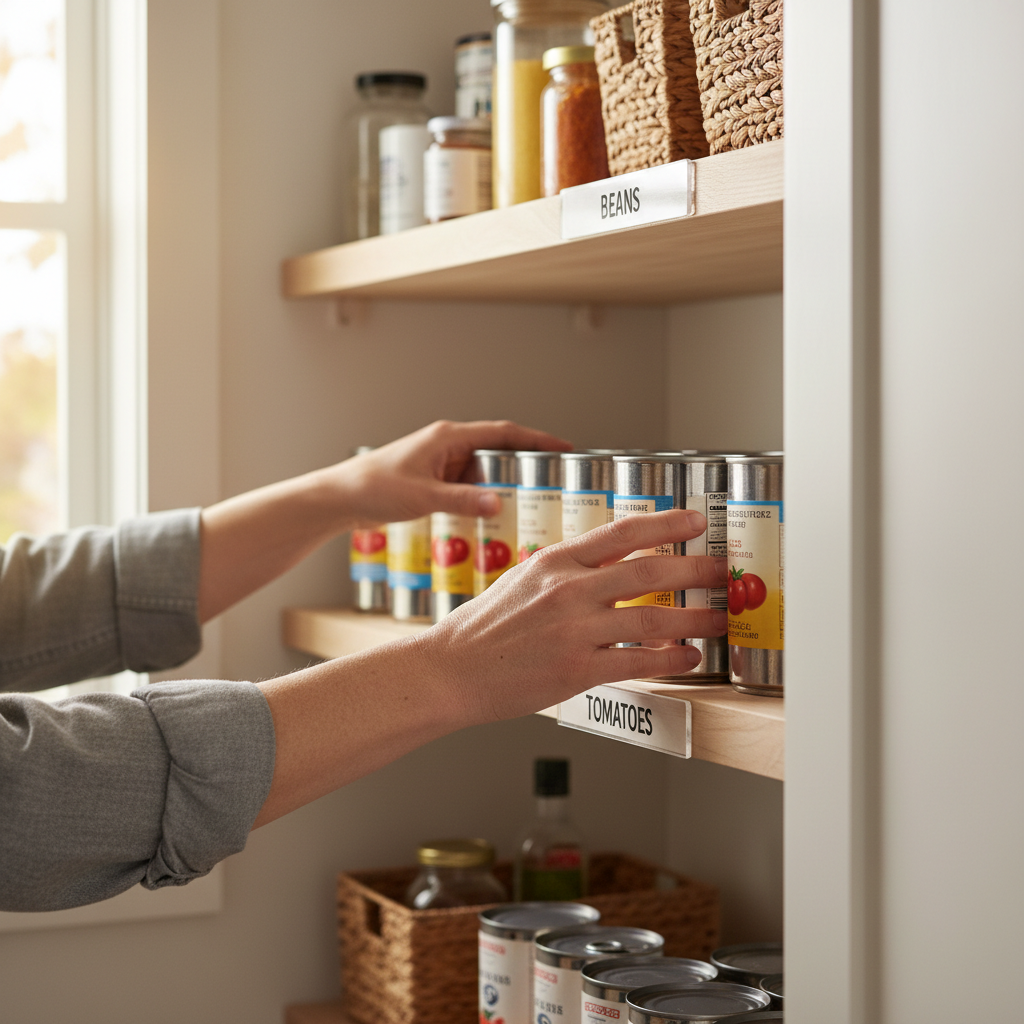
Key takeaway: the neat pantry isn’t the one you organize once, it’s the one you can reset in under two minutes after putting groceries away.
Common mistakes that make canned shelves look messy again
- Over-stacking: two layers deep usually turns into a hidden back row you forget.
- Buying organizers before measuring: even half an inch matters on pantry shelves.
- Creating too many categories: it feels precise, then it becomes maintenance.
- Storing all cans at eye level: heavy cans low is safer; keep daily items mid-shelf.
- No overflow plan: one extra grocery trip and the system collapses.
According to FDA, damaged cans such as deeply dented, bulging, or leaking cans can be unsafe; if you see those, it’s generally smarter to discard them and consult local guidance if you’re unsure.
When to bring in extra help or change the space
Sometimes the issue isn’t your habits, it’s the shelf itself.
- Shelves are too deep to manage: consider pull-out drawers, or bins that slide easily.
- You have mobility or lifting concerns: keep heavy cans between knee and chest height, and consider asking a handyman to adjust shelf spacing.
- Persistent pests or moisture: you may need professional pest control or a contractor, because organization won’t solve a structural issue.
If you’re unsure about food safety after a pantry flood or pest issue, it’s reasonable to consult a local extension office or a qualified professional for situation-specific guidance.
Conclusion: a neat canned-goods pantry is mostly a repeatable routine
If you want how to organize canned goods in pantry neatly to feel “done,” focus on clear zones, one visibility tool like risers or bins, and a rotation habit that fits your cooking style. Pick one shelf to fix today, then expand the same logic to the rest of the pantry once it proves itself.
Action idea: set a 15-minute timer, organize just your tomato/bean/soup shelf, and add a single label for each zone, you’ll feel the difference the next time you cook.
FAQ
What is the easiest way to keep canned goods neat without buying organizers?
Limit each category to one row across the shelf and keep only one layer deep. If you have extra, put overflow into a cardboard box or a sturdy bin and treat it as backstock.
How do I rotate canned goods so older cans get used first?
Use a light FIFO habit: move older cans forward and load new cans behind them. You don’t need to track every date, just keep the “new goes back” rule consistent.
Should I store cans by type or by meal?
In many households, meal-based categories stick better, like “taco night” or “quick soups,” because you shop and cook that way. If you batch-cook, type-based zones like “beans” and “tomatoes” may feel simpler.
Are can dispensers worth it for a small pantry?
They can be, but only if you buy a lot of the same can sizes and you want automatic rotation. If your cans vary a lot, risers or bins usually waste less space.
How many cans should I keep on hand?
It depends on how often you shop and what you cook. A practical approach is keeping enough staples for a couple of weeks, plus a small backstock for items you use constantly, and avoiding “just in case” duplicates you never reach for.
What should I do with dented cans?
If a can is bulging, leaking, or has a deep dent near seams, many food-safety guidelines advise discarding it. When in doubt, checking FDA guidance or asking a local extension office is a safe move.
How do I organize canned goods in a cabinet instead of a pantry?
Use a tiered riser to create levels, keep stacks short, and dedicate one cabinet section to active cans. If you have backstock, store it in a separate bin so it doesn’t crowd the daily-use area.
If you’re trying to organize a pantry that never stays put, it may help to build a simple “one-touch restock” setup, a couple of sturdy bins, a basic can riser, and labels that stay broad enough to keep up with real life.