
Garage storage ideas for small spaces work best when you stop trying to “store everything everywhere” and start treating your garage like a tiny room with strict zoning, vertical walls, and a short list of stuff that truly earns its spot.
If your garage feels packed but still never has what you need, you’re not alone, most small garages fail for the same reason: the floor becomes the default shelf, then parking disappears, then every project turns into a 20-minute scavenger hunt.
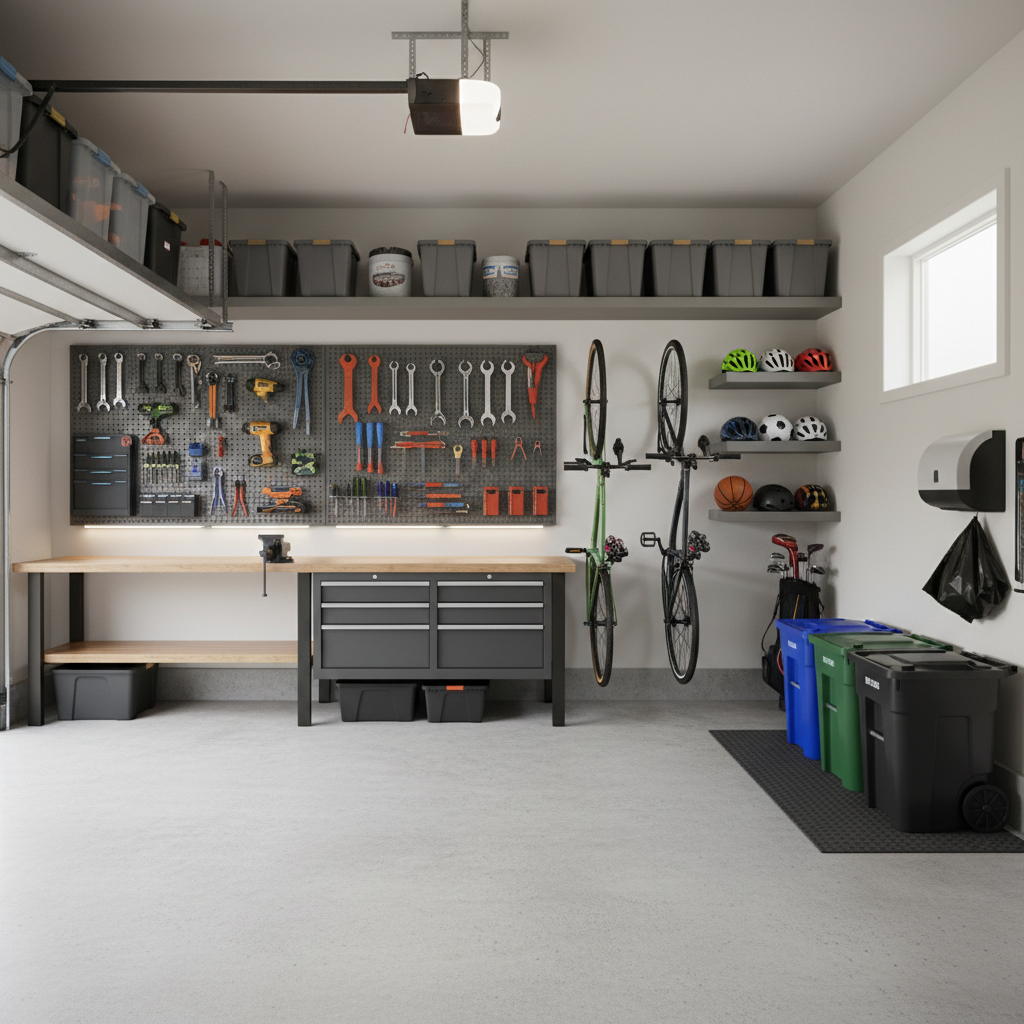
This guide keeps it practical, you’ll get a quick way to decide what to keep, a small-space layout that usually works, and specific storage moves that free floor space without turning your garage into a showroom.
Start with a small-garage “map”: zones beat random shelves
Most garage storage ideas for small spaces succeed or fail before you buy anything, the deciding factor is whether each item has a “home” that matches how often you use it.
Try this simple zoning map (adjust to your garage shape and door tracks):
- Daily/weekly zone: near the door into the house, shoes, backpacks, pet gear, quick-grab tools.
- Project zone: a narrow work surface, hand tools, chargers, fasteners.
- Long-term zone: high shelves or overhead, seasonal decor, camping bins.
- Dirty zone: lawn care, chemicals, trash/recycling, ideally near the garage door for airflow.
Keep the parking outline sacred, even if you don’t always park inside, that open rectangle is your “circulation space” so everything stays reachable.
Why small garages get cluttered (it’s usually these 5 causes)
It’s tempting to blame “not enough space,” but small garages often have enough volume, it’s just trapped in the wrong places.
- Floor-first habits: boxes land on the ground, then multiply, then block access.
- Unlabeled containers: you can’t see what you own, so you buy duplicates.
- Mixed categories: one shelf holds paint, holiday lights, and soccer balls, so nothing stays put.
- No vertical systems: bare walls waste the most valuable square footage you have.
- “Someday” items: broken gear and leftover materials quietly become permanent residents.
According to U.S. Consumer Product Safety Commission (CPSC), many home injuries involve falls, and clutter can contribute to trip hazards, in a tight garage, clear walk paths matter for safety as much as convenience.
Quick self-check: what kind of small-space garage do you have?
Before you choose racks or cabinets, figure out what you’re optimizing for, parking, workshop use, family entry, or pure storage. Use this checklist and tally what sounds most like you.
- “We need parking back”: you have to move items to open the car door, bins live where tires should be.
- “We can’t find tools”: you own tools, but they’re scattered across boxes and drawers.
- “Sports gear explosion”: balls, helmets, strollers, and scooters dominate the floor.
- “Seasonal overflow”: decorations and coolers are the main volume problem.
- “Too many chemicals and yard items”: bags, fuel cans, fertilizers create a messy corner.
Your answers tell you where to spend money, if parking is the pain, prioritize walls and overhead storage, if tools are the pain, prioritize visibility and a dedicated tool zone.
High-impact storage upgrades (best ROI in tight garages)
In a small garage, you want moves that recover floor space immediately and keep frequently used items reachable. These are the upgrades that typically pay off fastest.
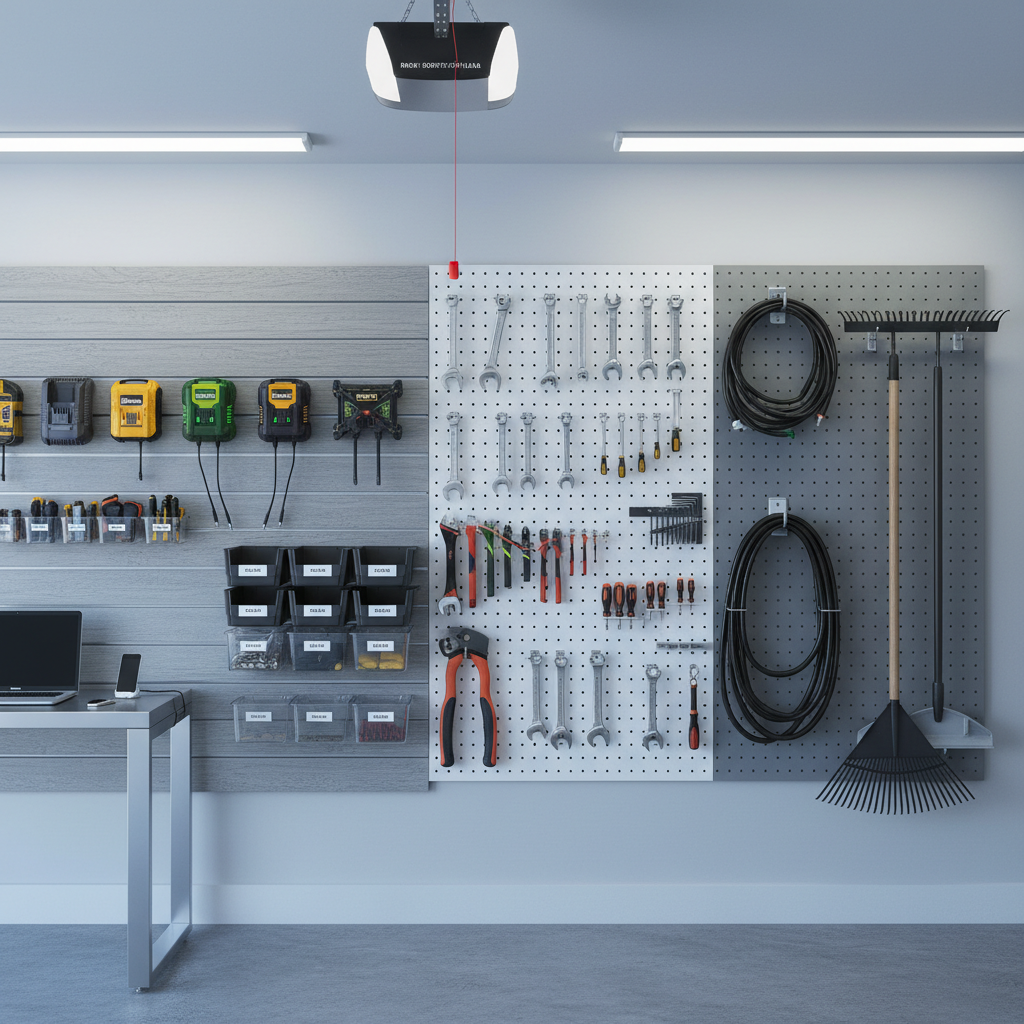
1) Wall tracks, slatwall, or pegboard (visibility wins)
If you only do one thing, do the wall. A track system or sturdy pegboard turns awkward vertical space into organized square footage.
- Hang rakes, shovels, brooms, leaf blowers, extension cords.
- Use small bins/hooks for gloves, tape, bike helmets.
- Keep the “project zone” tools at eye level, not in a deep tote.
2) Overhead racks (for bulky seasonal bins)
Overhead racks are a classic for a reason, they store big, light-to-medium items up high and protect your parking footprint. Measure door clearance carefully, especially if you have a garage door opener and tall vehicle.
Safety note: overhead mounting involves load ratings and anchoring into framing, if you’re unsure about ceiling joists or installation, consider a qualified installer.
3) Narrow shelving on the “dead wall”
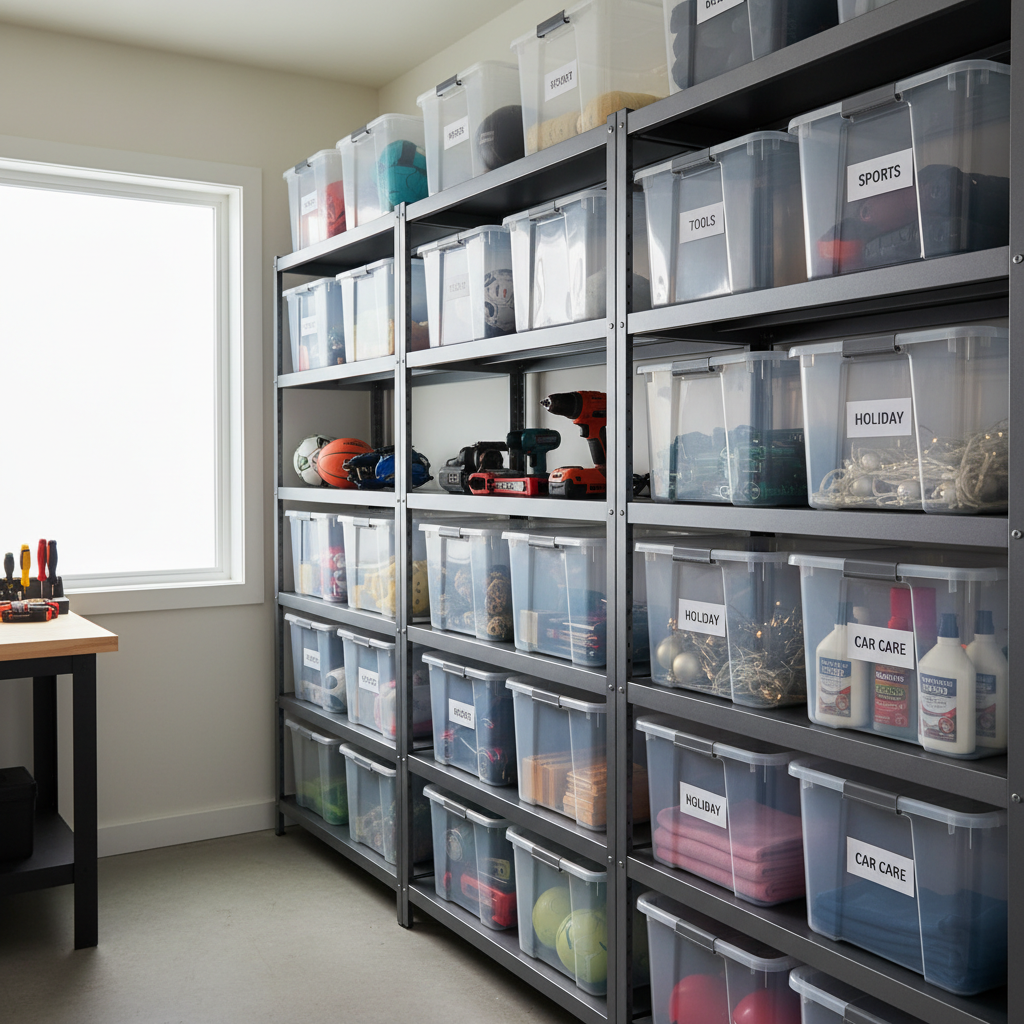
Many garages have a thin strip of usable wall where a car door doesn’t swing, a 12–16 inch deep shelf run can hold labeled bins without stealing the lane.
- Keep the bottom shelf higher than you think, so you can sweep and spot pests.
- Use clear bins for small items, opaque bins for visual calm, either works if you label well.
4) Ceiling bike storage or vertical bike hooks
Bikes eat floor space fast. Vertical hooks work well if you can lift the bike, ceiling hoists help when you need the wall for other gear. Check wall type and fastener requirements, drywall anchors usually don’t cut it for heavy loads.
5) A real “drop zone” by the house door
If your garage is the main entry, a small bench, shoe tray, and a few hooks can prevent the daily pile that slowly infects the whole space.
Choose the right solution: a simple comparison table
Not every system fits every garage, here’s a quick way to pick what matches your constraints.
| Storage option | Best for | Watch-outs | Typical cost feel |
|---|---|---|---|
| Wall track / slatwall | Tools, yard gear, flexible reconfig | Needs studs, plan spacing | Medium |
| Pegboard | Hand tools, small items visibility | Can look messy without zones | Low to medium |
| Overhead rack | Seasonal bins, bulky light items | Door clearance, load rating | Medium |
| Freestanding shelving | Bins, paint, household overflow | Steals floor space if too deep | Low to medium |
| Tall cabinets | Clean look, chemicals out of sight | Costs more, may reduce access | Medium to high |
A practical weekend plan (so it actually gets done)
Most people stall because the job feels like “organize the entire garage.” Break it into a short sequence that produces quick wins.
Step 1: Pull out only one category at a time
Start with sports gear or tools, not “everything.” Make three piles: keep, relocate (belongs in the house), exit (donate/trash).
Step 2: Assign homes based on frequency
- Weekly use: shoulder-to-eye level on the wall, or a reachable shelf.
- Monthly use: mid-to-upper shelves, labeled bins.
- Seasonal use: overhead rack or top shelf.
Step 3: Install, then label immediately
Labeling feels optional until it isn’t. Use short labels like “Car Wash,” “Soccer,” “Fasteners,” and date the seasonal bins if you rotate decor.
Step 4: Protect the floor
Use a “no-storage floor rule” except for two things: a rolling trash/recycling solution and one intentional parking-side cart if you truly need it. This is the difference between a tidy garage and a temporary reset.
Mistakes to avoid (these waste money in small garages)
- Buying containers before purging: you end up storing clutter more neatly, but still storing it.
- Deep shelves everywhere: anything deeper than 16–18 inches becomes a black hole unless you use pull-out bins.
- Storing heavy items overhead: save overhead space for lighter seasonal bins, heavy loads raise safety risks.
- Ignoring humidity and pests: cardboard on the floor can invite moisture damage, plastic bins raised off the ground are often safer.
- No “return routine”: if it’s hard to put away, it won’t get put away, keep the easiest homes for the most-used items.
Key takeaways (keep this part simple)
- Zones first, products second, a small-garage map prevents random storage.
- Walls and ceilings are your square footage, reclaim the floor for parking and walking paths.
- Labeling is not extra, it stops duplicates and drift.
- Match storage to frequency, weekly items stay reachable, seasonal items go high.
Wrap-up: your next move
If your garage feels tight, the fix usually comes from two decisions: what leaves, and what moves off the floor. Pick one category this weekend, create zones, then add one wall system or one overhead solution that fits your clearance, those steps alone often make small garages feel twice as usable.
If you want the fastest win, measure one wall, install a simple track or pegboard setup, and commit to the “no-storage floor rule” for two weeks, you’ll feel the difference immediately.